This post and the photos within it may contain Amazon or other affiliate links. If you purchase something through the link, I may receive a small commission at no extra charge to you.
My #1 question is always how do you apply vinyl!? I have been using the “hinge method” even before I knew it had that name. This technique is super popular in the sign making world and it lends itself perfectly to crafting.
Here’s what we need to get this craft party started:
- Cutting Machine- I love the Cricut Maker
- StandardGrip Mat
- Premium Vinyl
- Weeding Tool
- Transfer Tape
- Scraper
- Masking Tape
- Scissors
- Paper Trimmer (optional)
- Mug- Target Dollar Spot
- Rubbing alcohol (optional)
If at any point during this tutorial you get lost or confused, click the image and it’ll take you to that exact moment in a full how-to video tutorial. The video will show you everything you need to know about the hinge method!
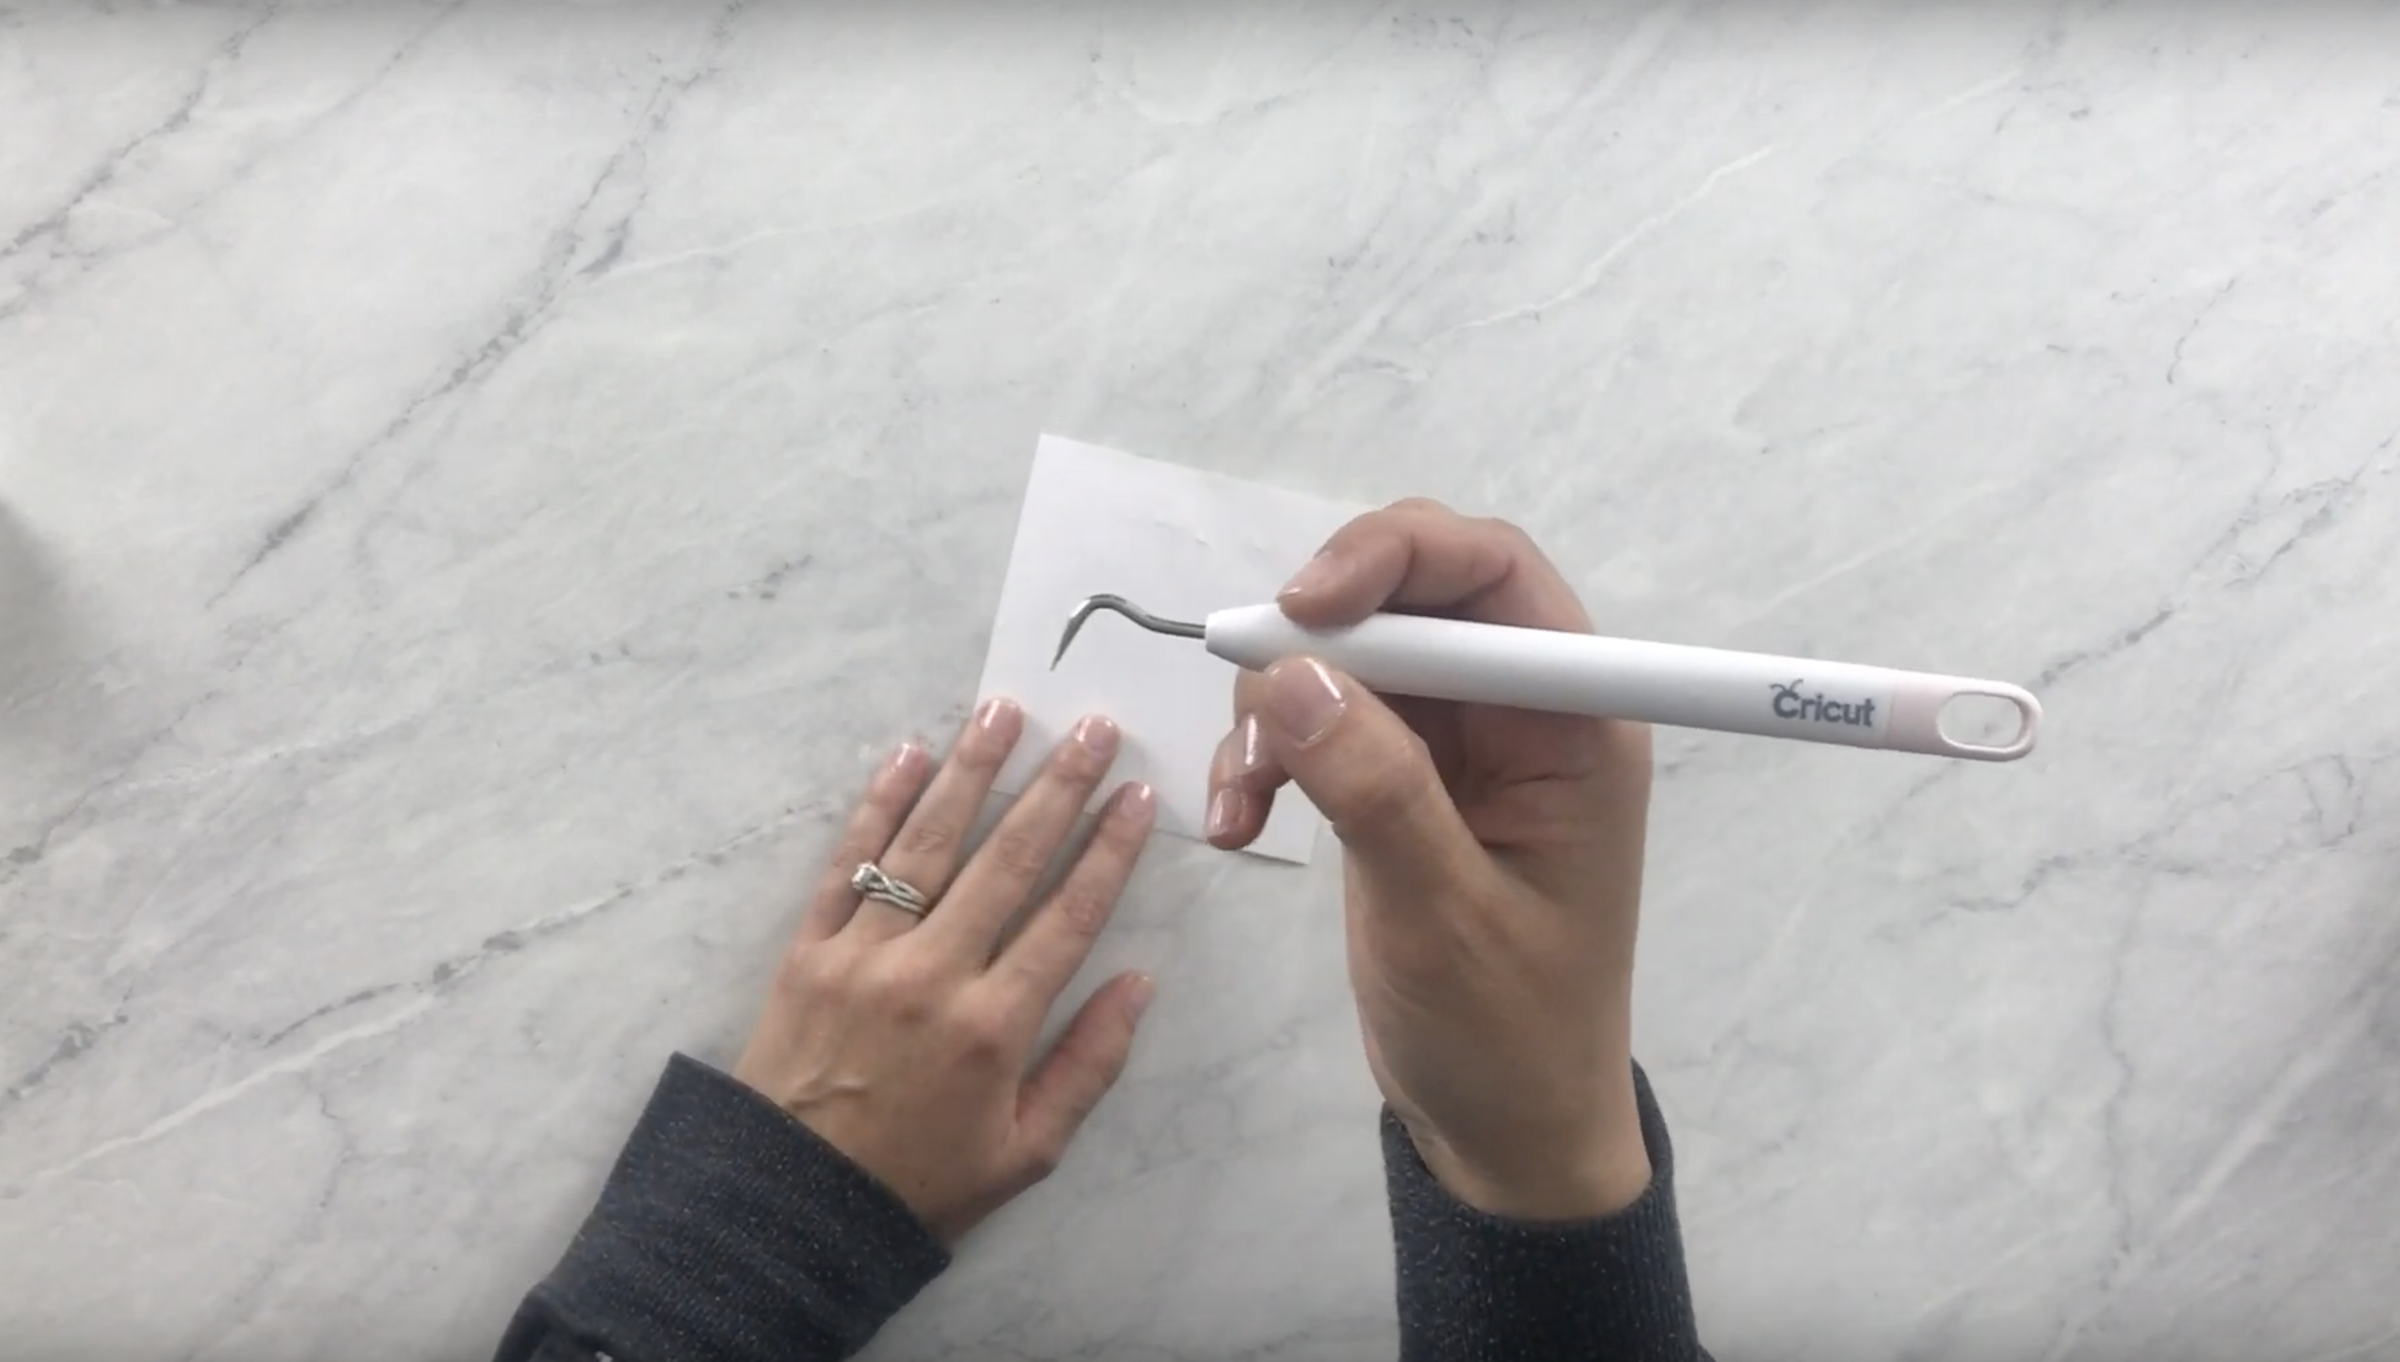
Cut and weed your image
To keep this tutorial a manageable length, I skipped over the cutting portion! If you need help with cutting your vinyl using your Cricut machine, click the image above to watch the video tutorial! After your image is cut, you will need to weed away your excess vinyl. Using a weeding tool pull away all of the parts that do not belong on your image. Don’t forget to weed away the insides of each letter.
Place transfer tape over image
Using a piece of transfer tape cover your entire image. Burnish down the transfer tape using your scraper.
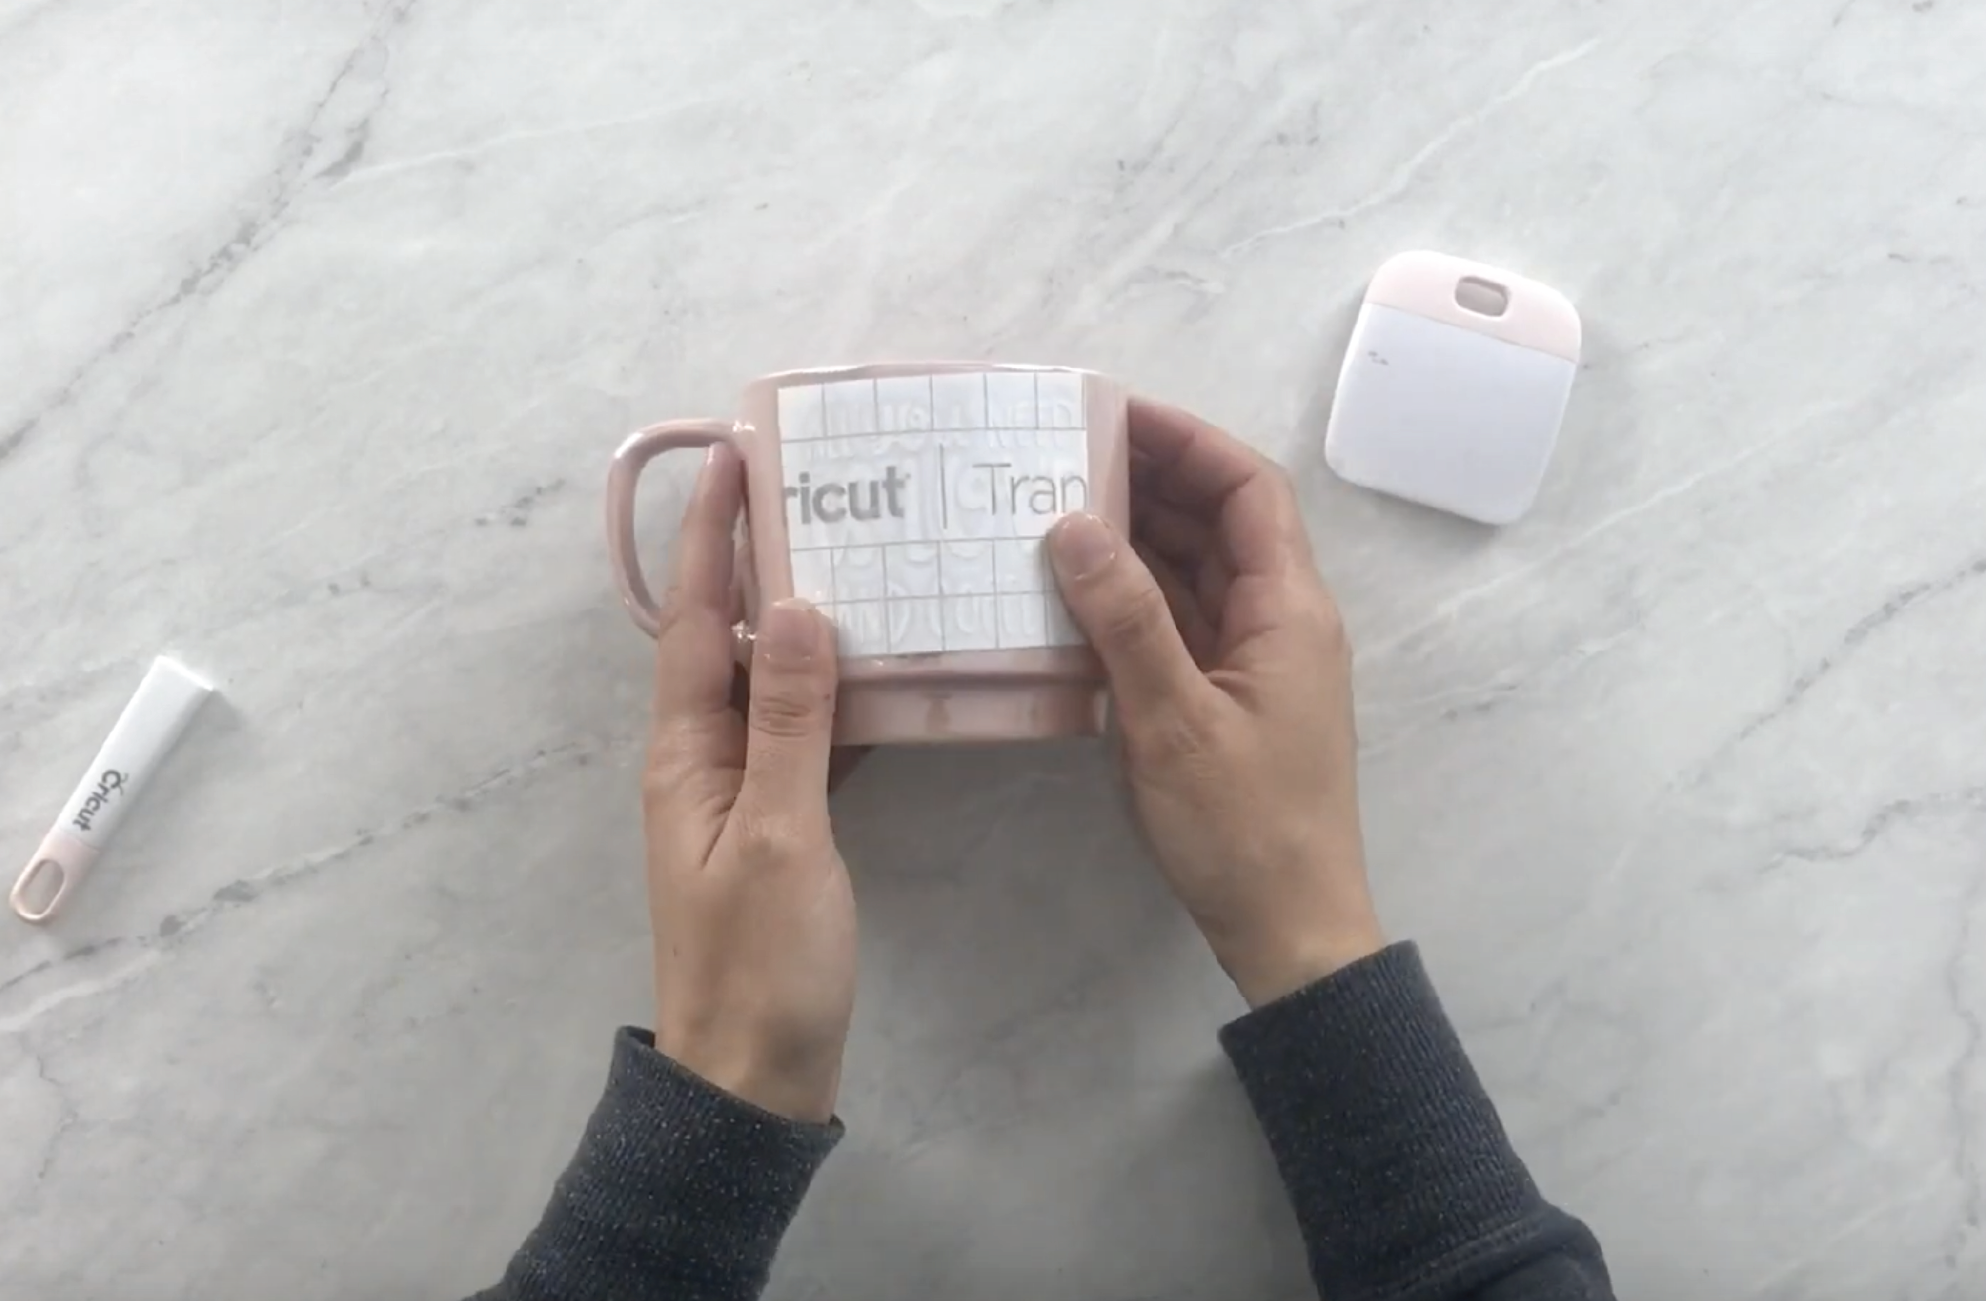
With the liner still on, position your image on the mug
I know it’s tempting, but do not remove the transfer tape from the liner! Trim down your image and transfer tape. Then position it on the surface you plan to transfer it to. If you plan to transfer it on to a mug, I’d recommend wiping it down with rubbing alcohol so that the surface is nice and clean.
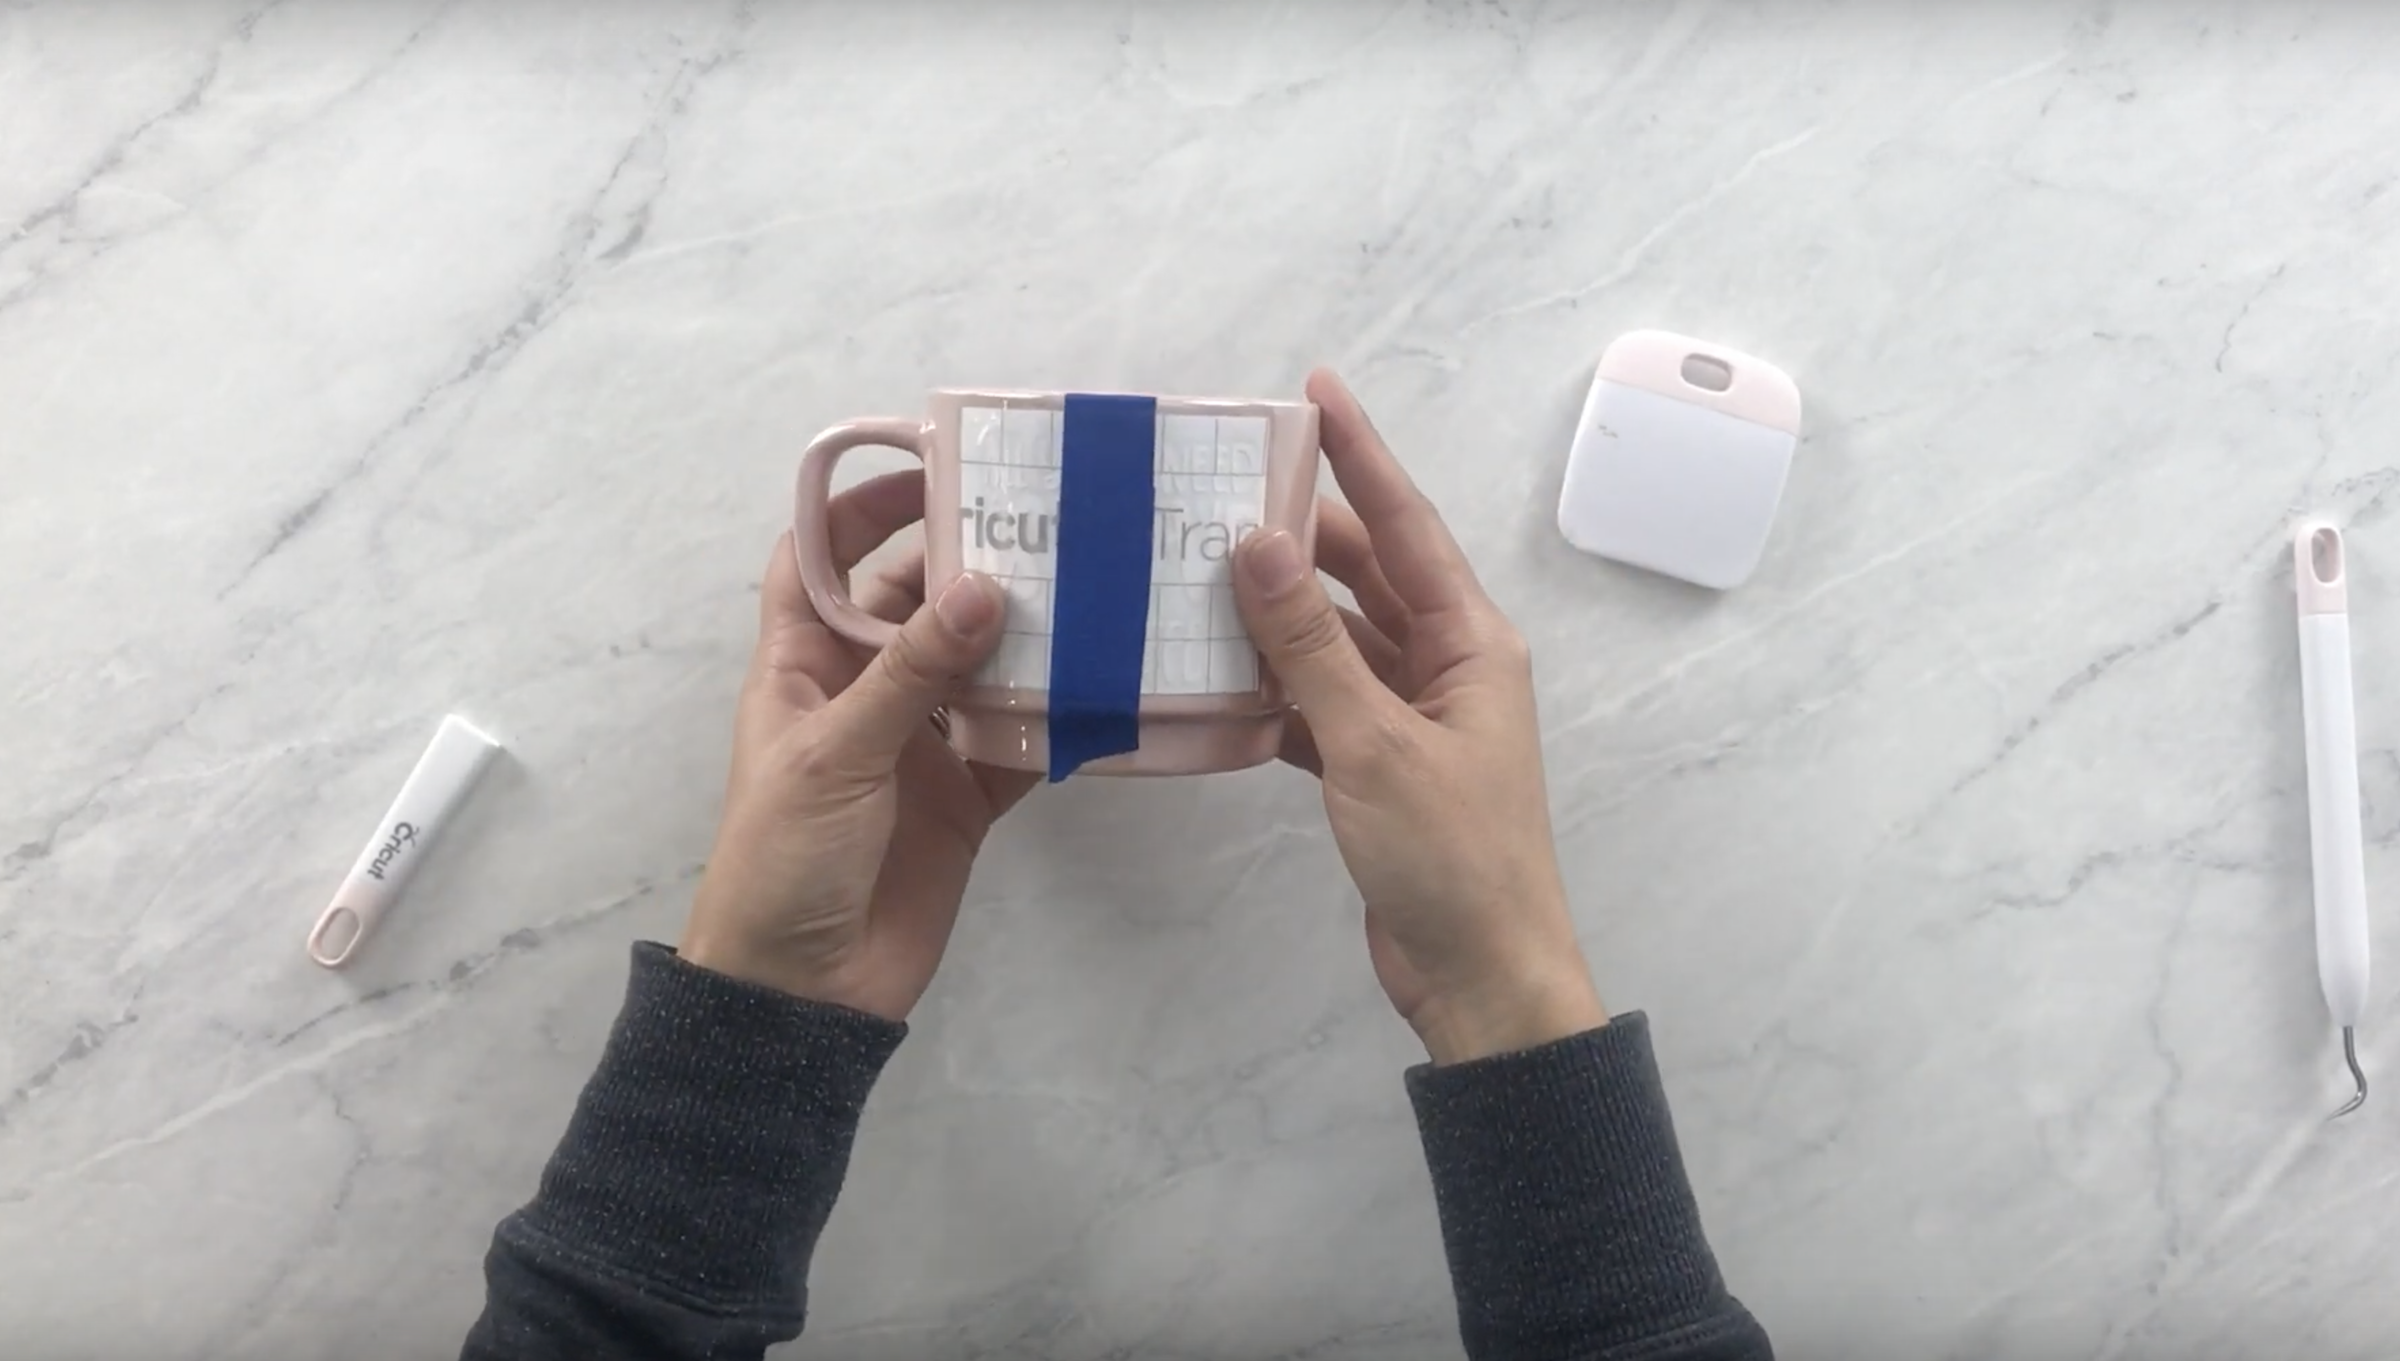
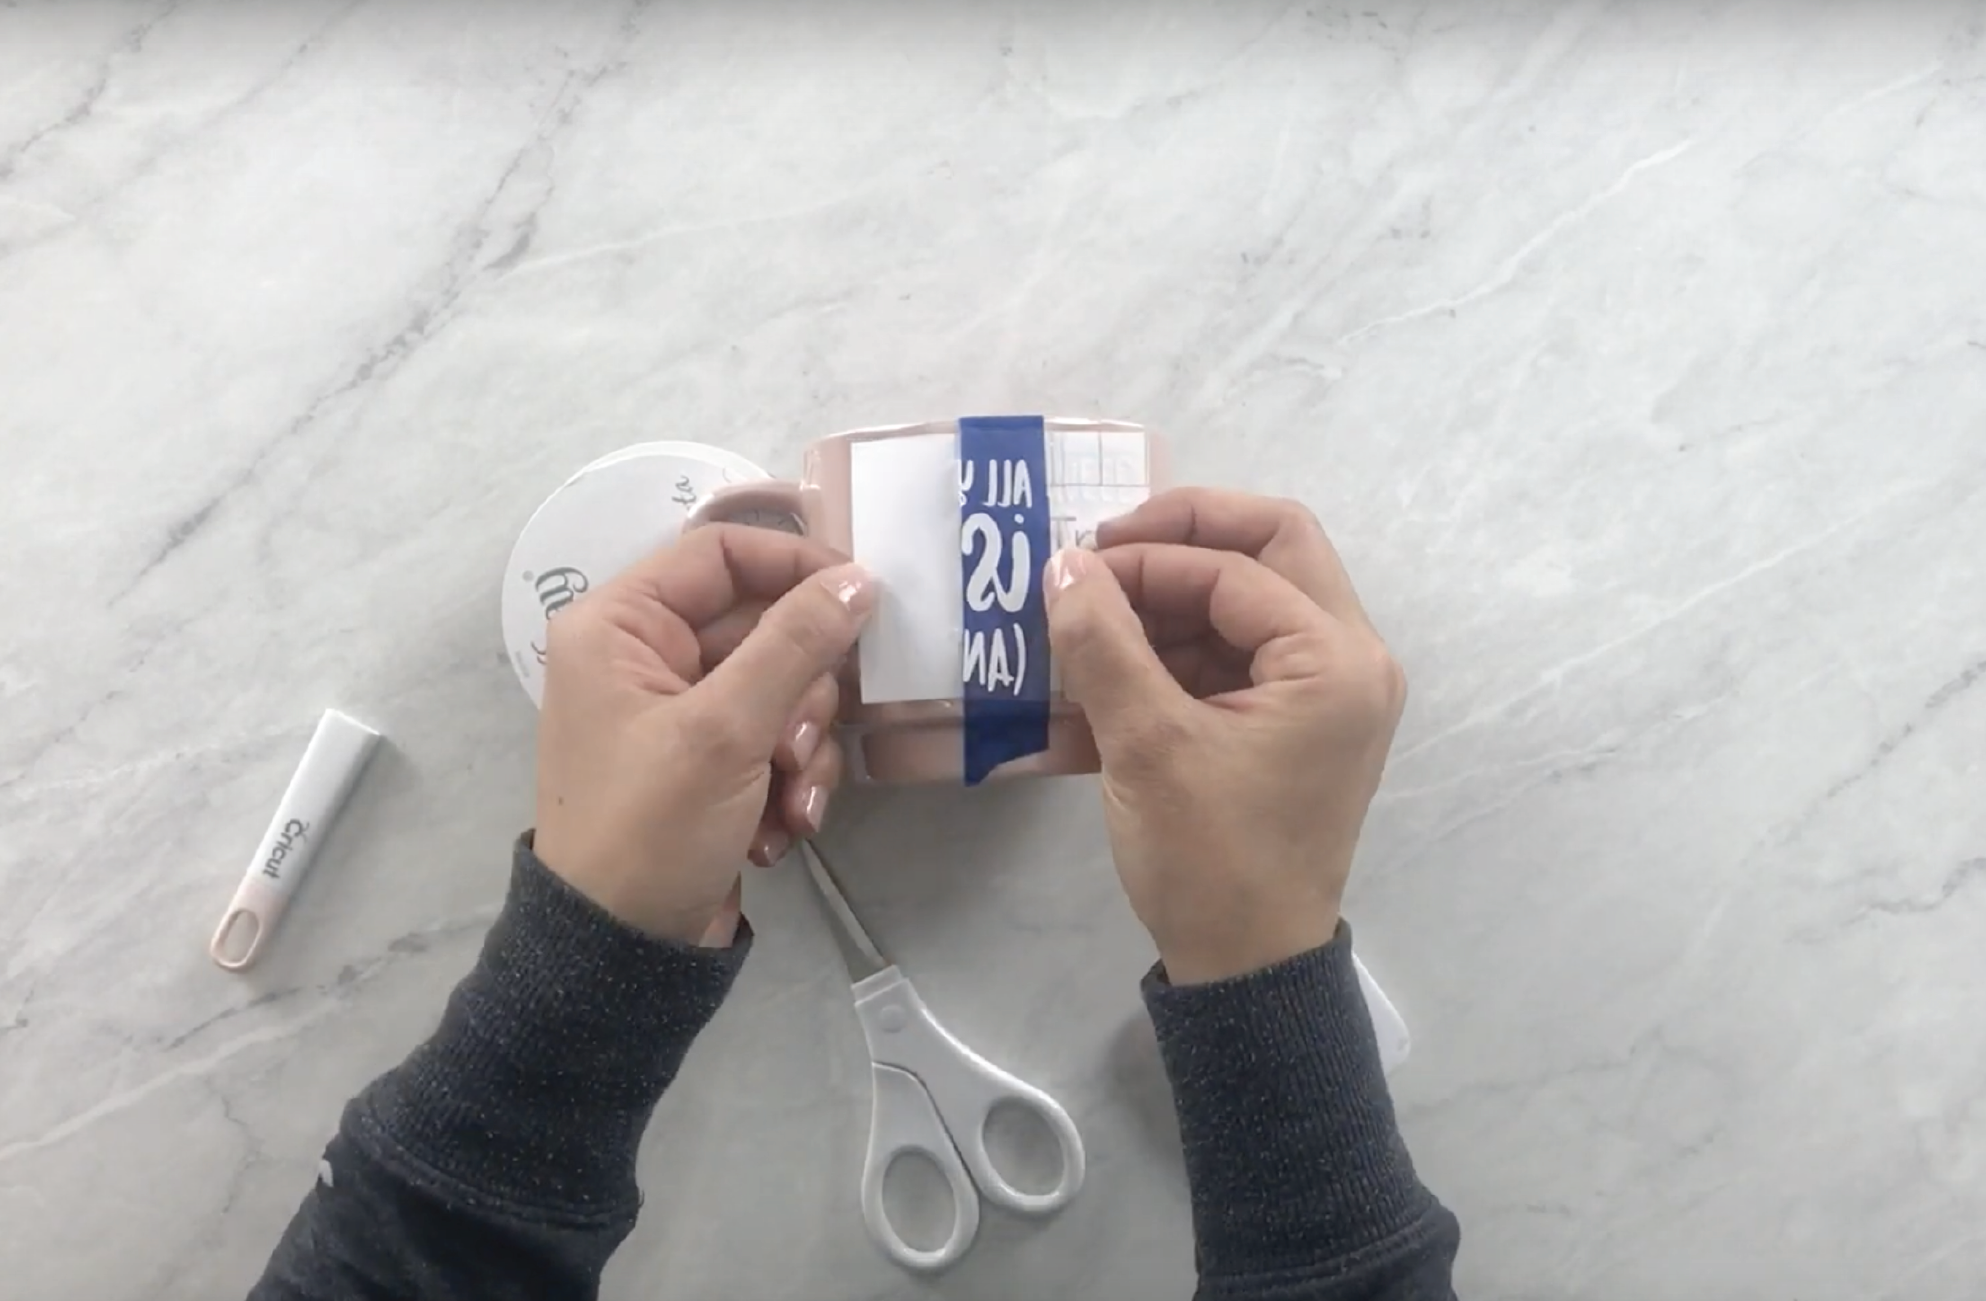
Use a piece of masking tape to secure your design in place
The piece of tape will act as a hinge. Place the tape down the middle of your design. If you need to adjust the placement, lift the tape and move the design. Then secure your design with the tape.
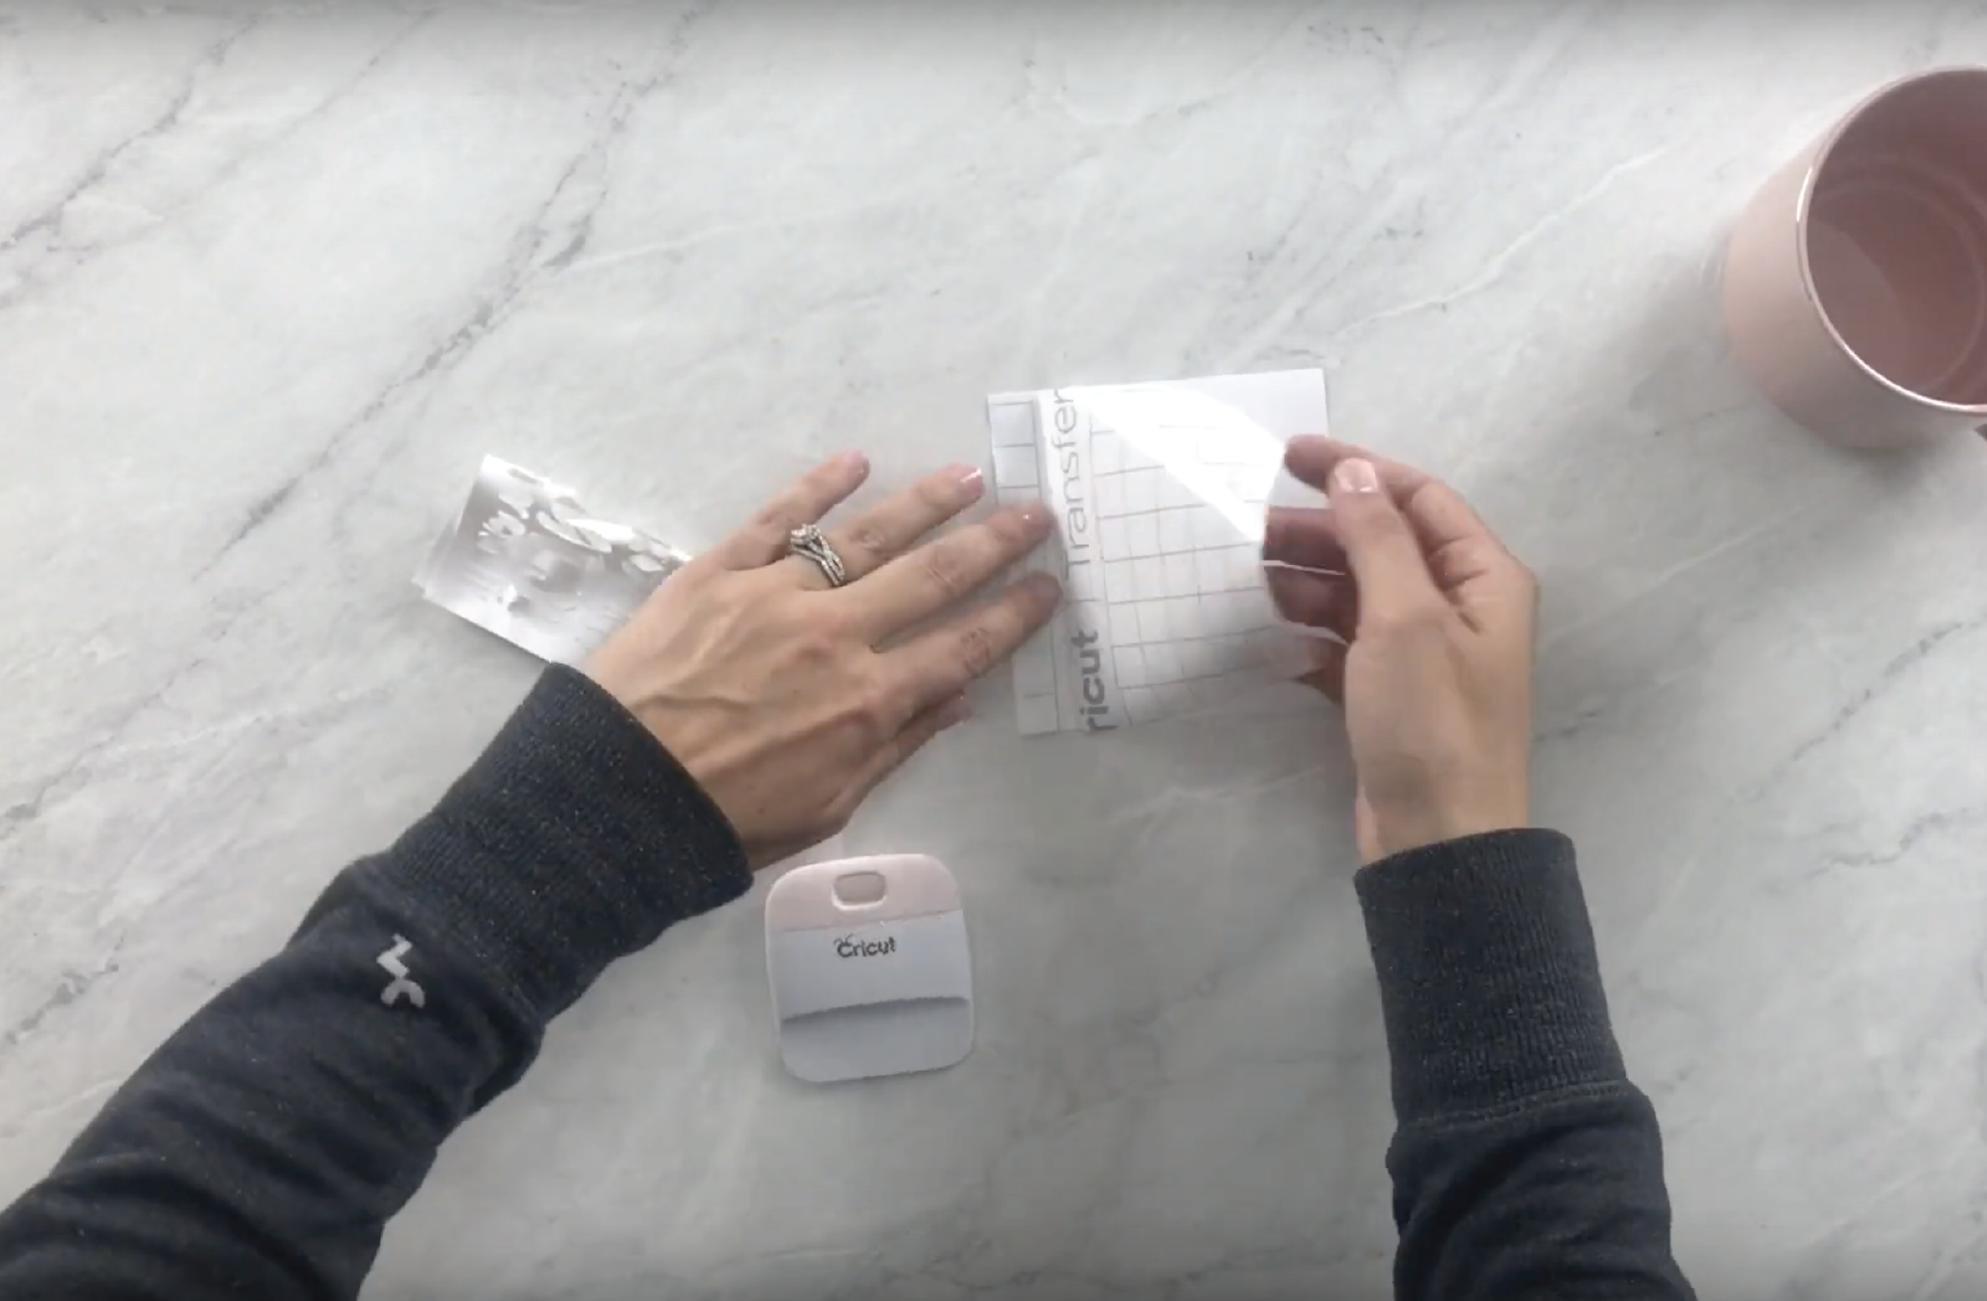
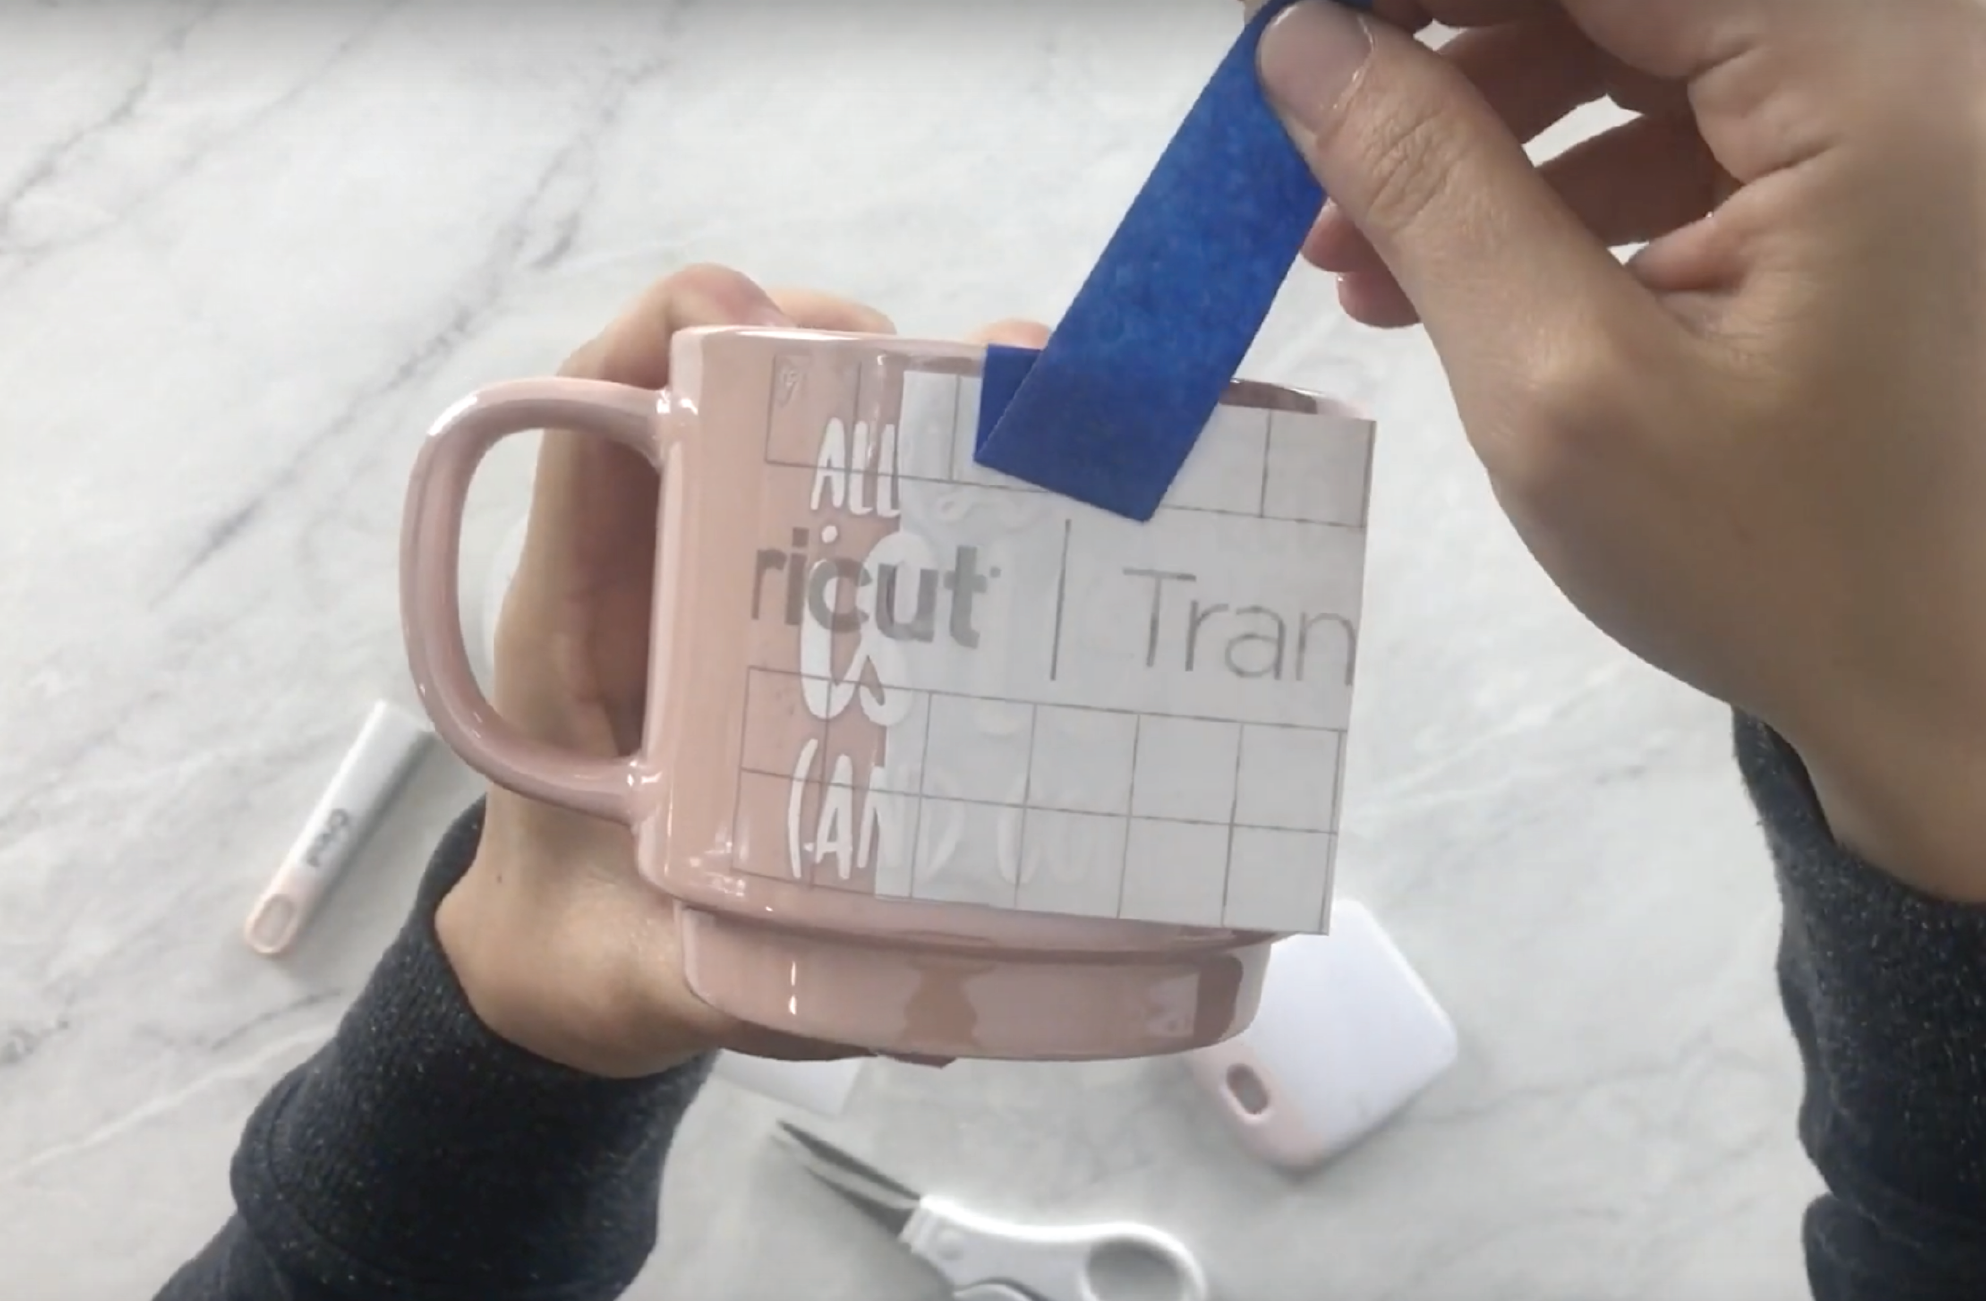
Peel the transfer tape back to expose the liner
Find the corner of your transfer tape and peel it back. Make sure all of your vinyl design sticks to the clear transfer tape.
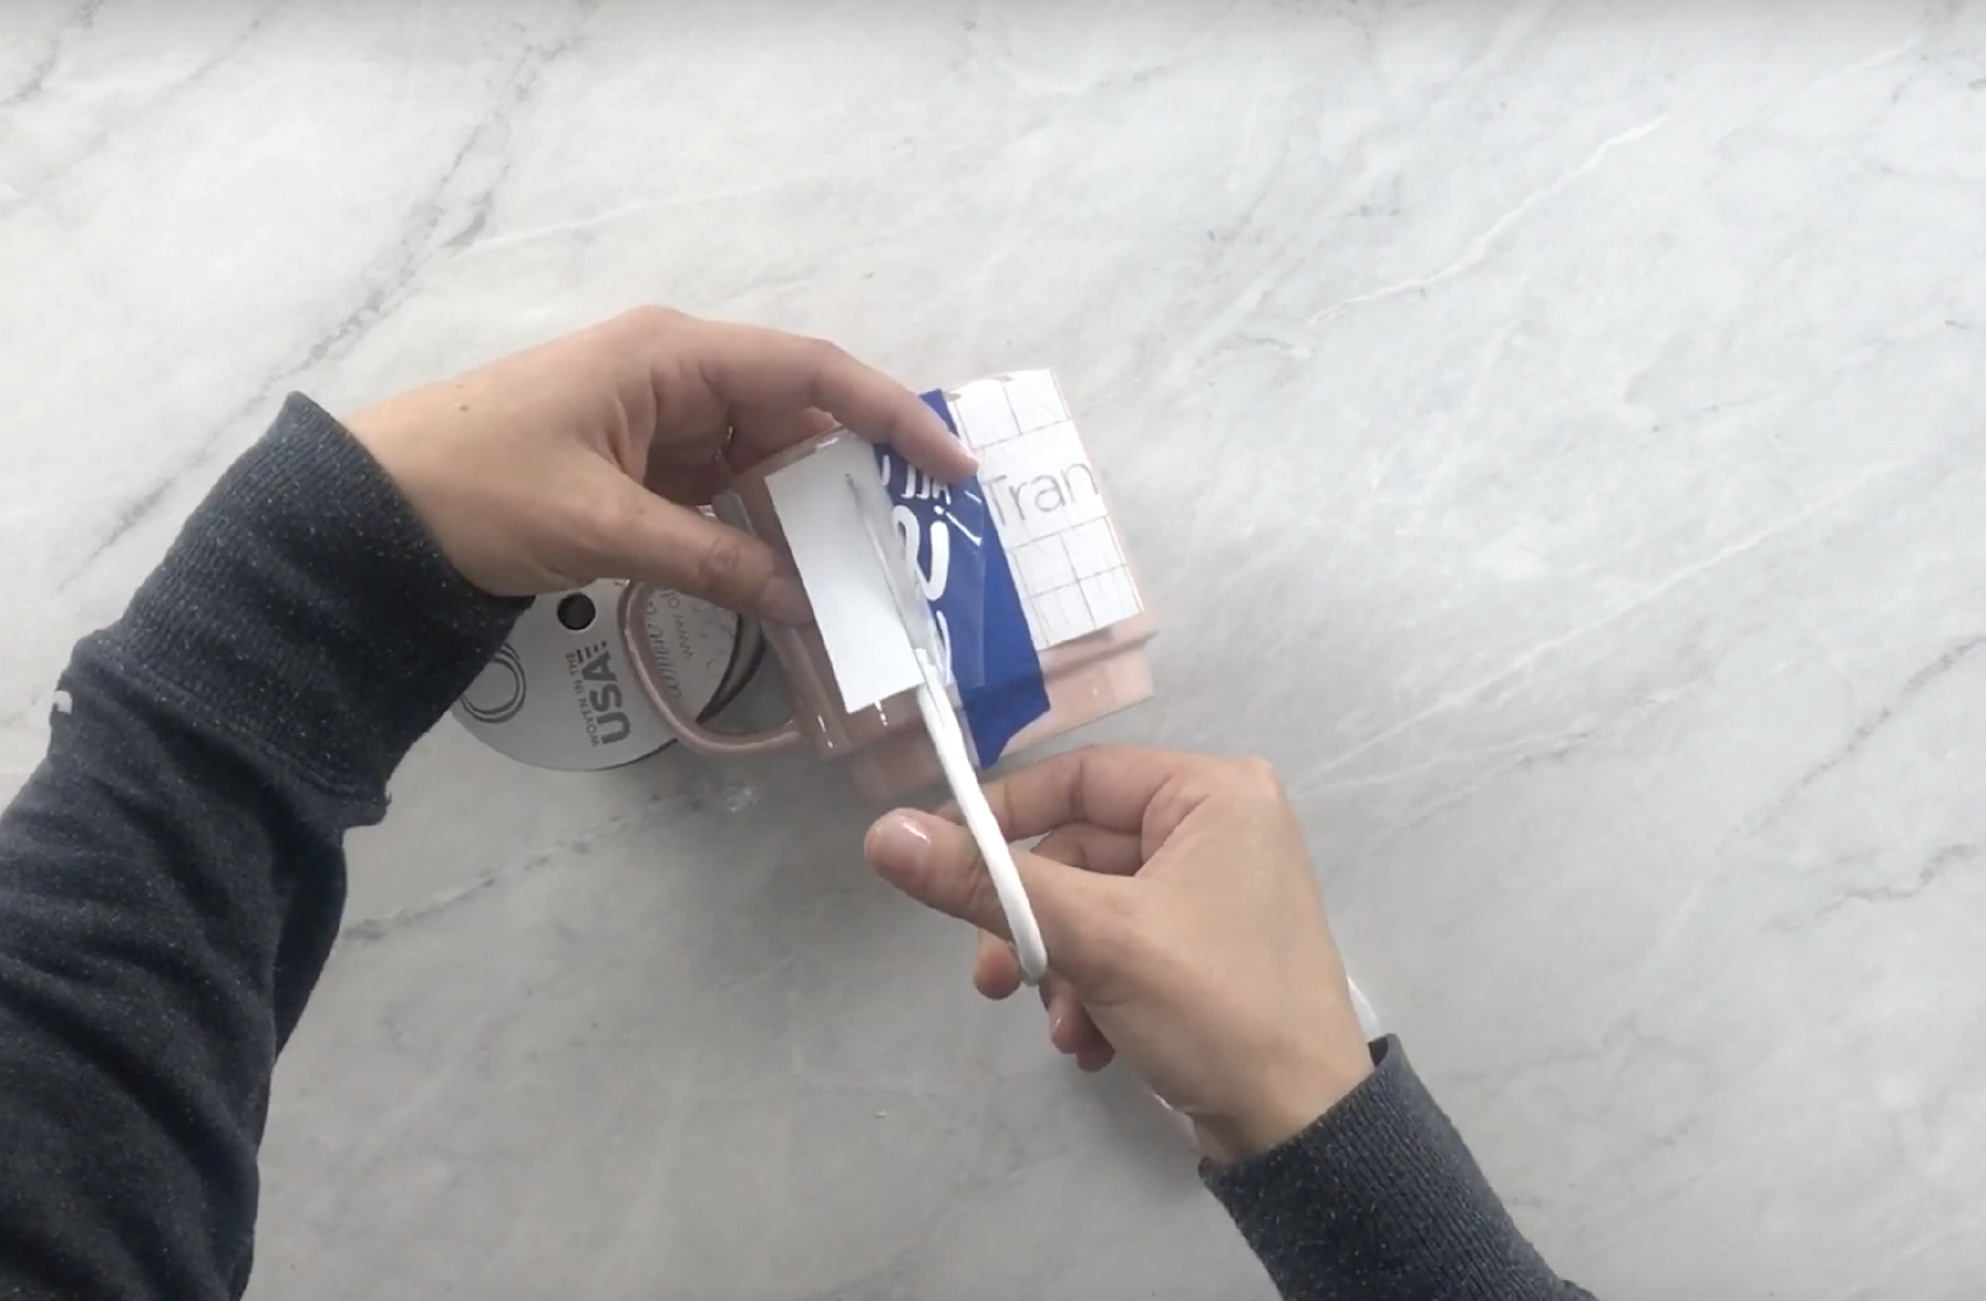
Trim away the liner
While holding your transfer tape back, trim the liner away.
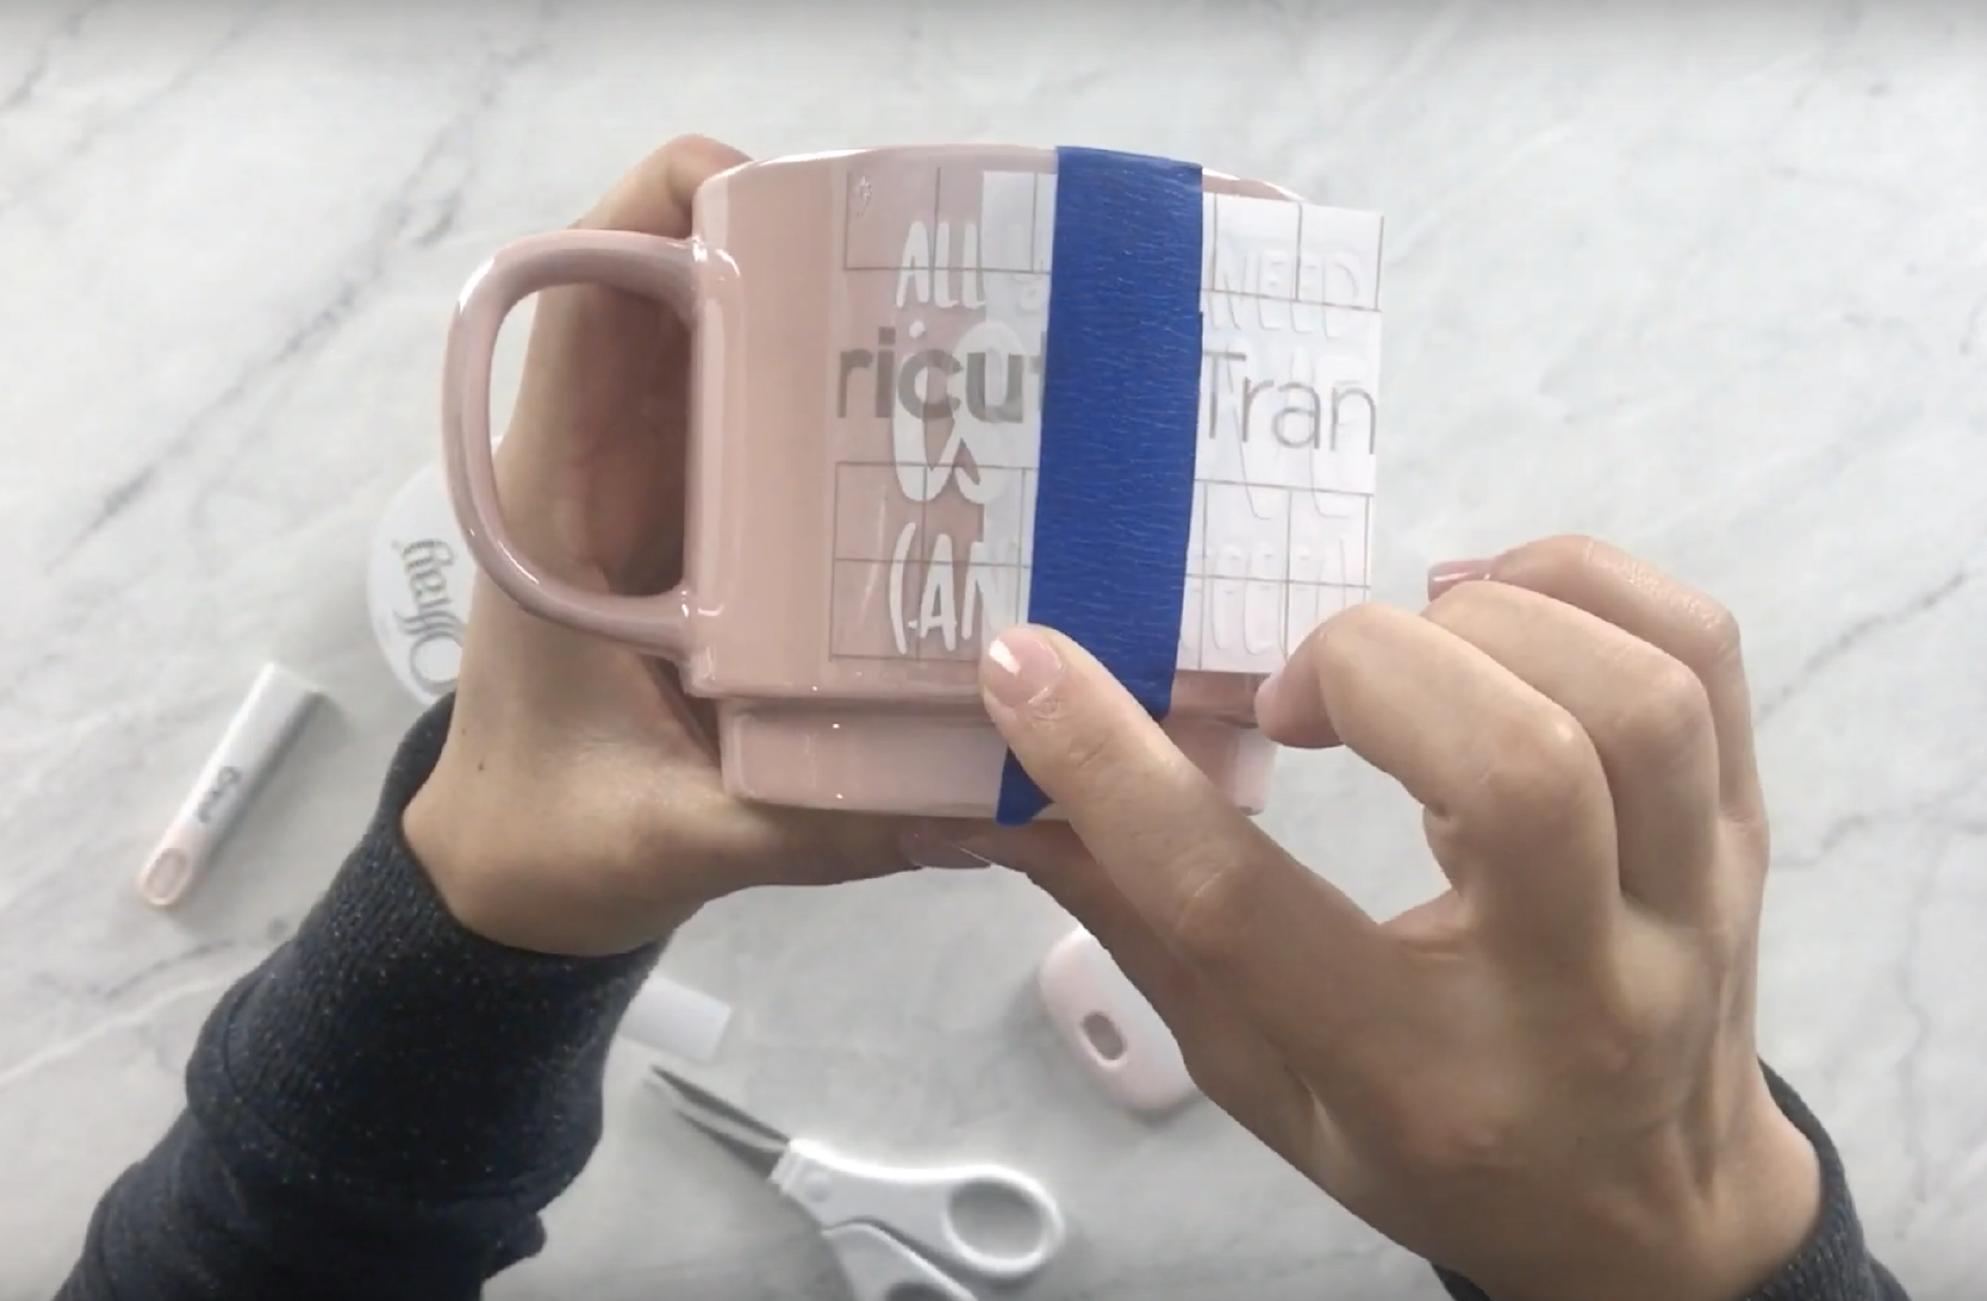
Slowly apply your vinyl and transfer tape
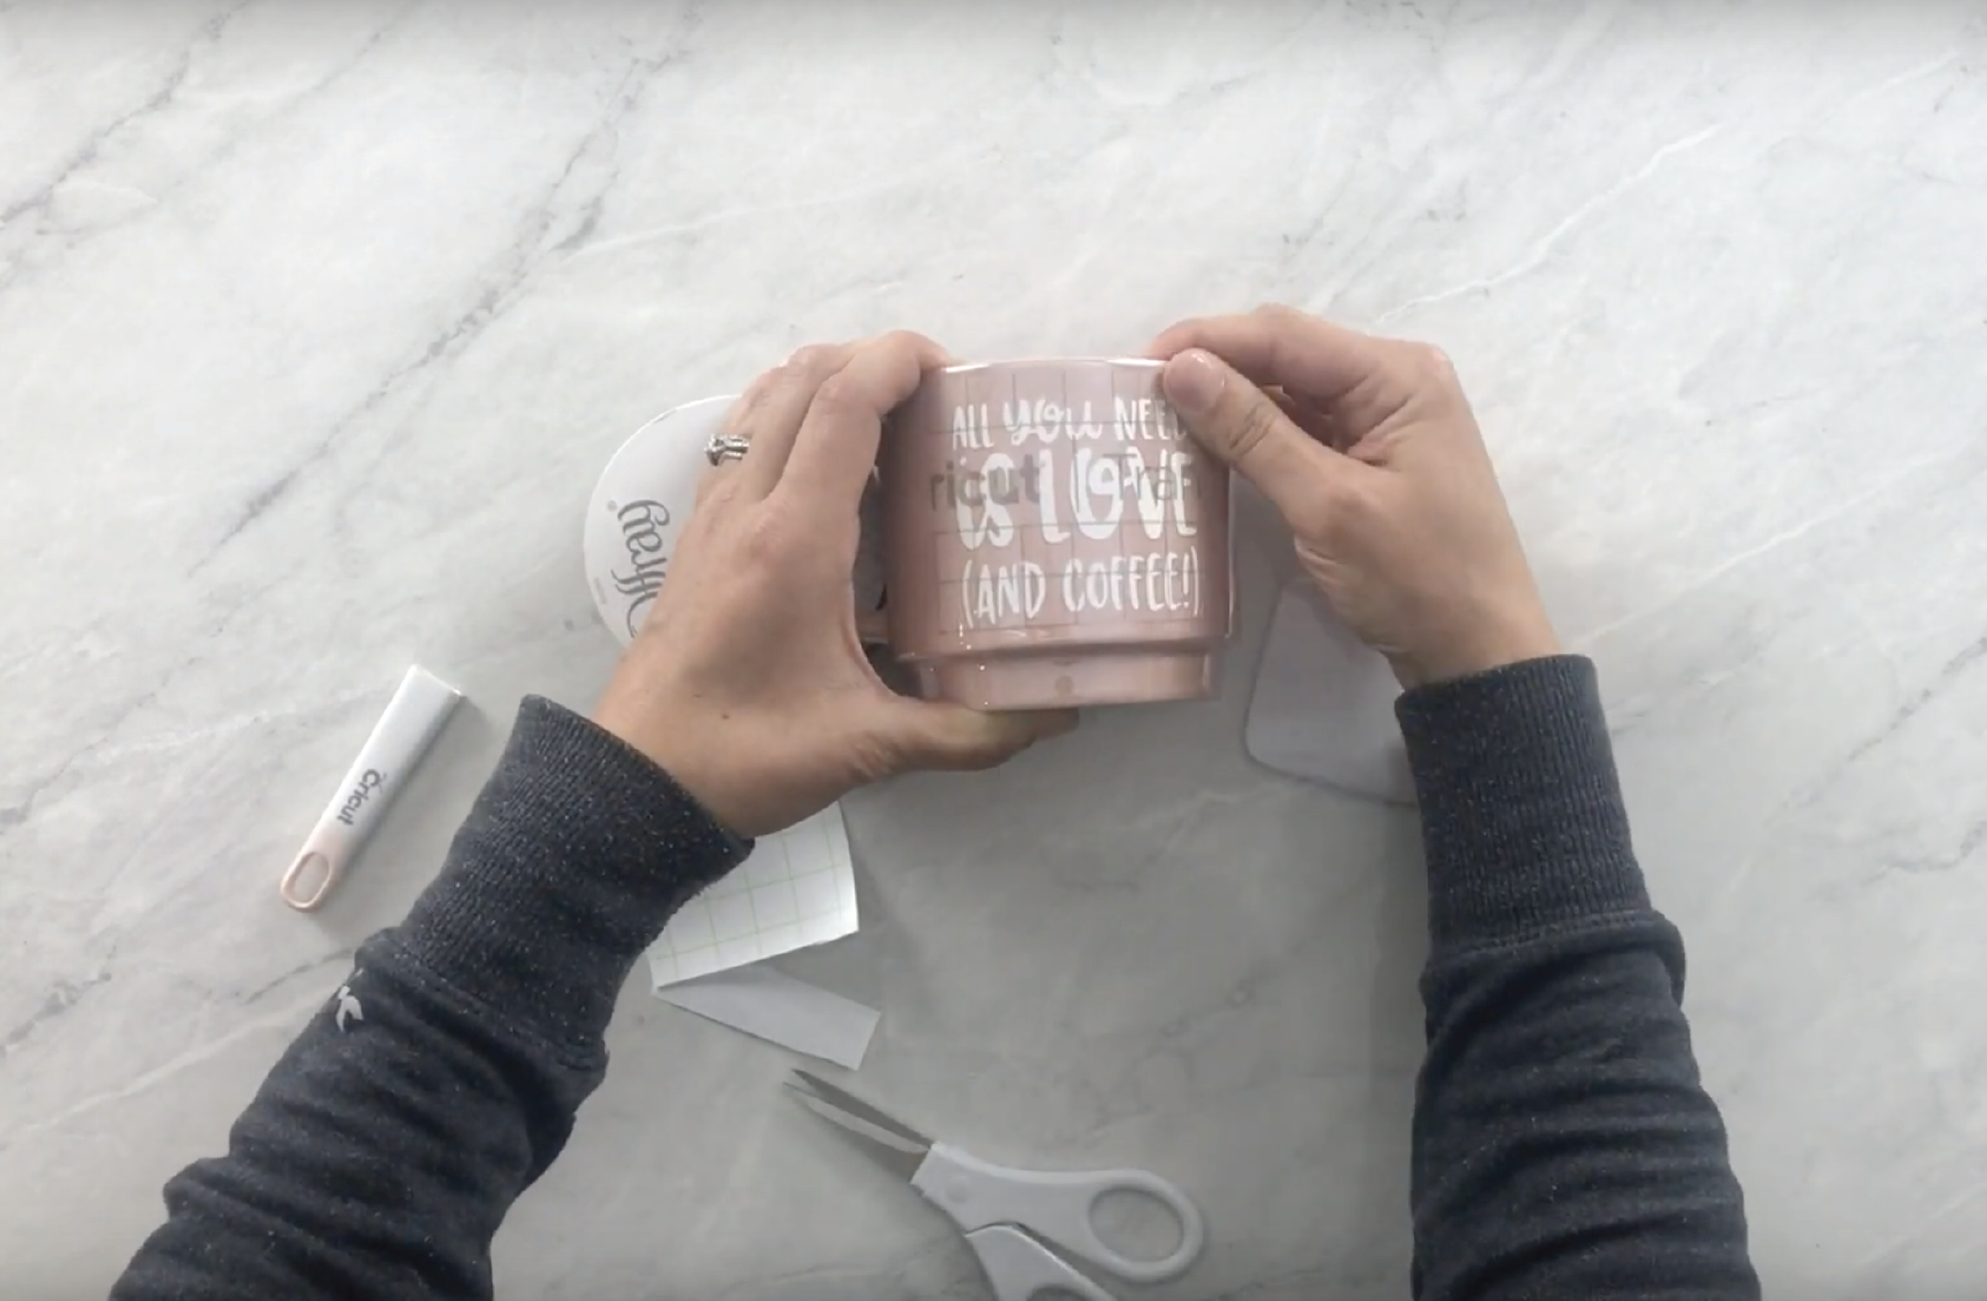
Starting from the middle of your image, apply the design. I slowly work my finger from the middle outward ensuring all my vinyl is smooth and free of any bubbles.
Remove the hinge (tape)
Now the your design is half way secured, you can remove your hinge (tape).
Peel back the other side of the design
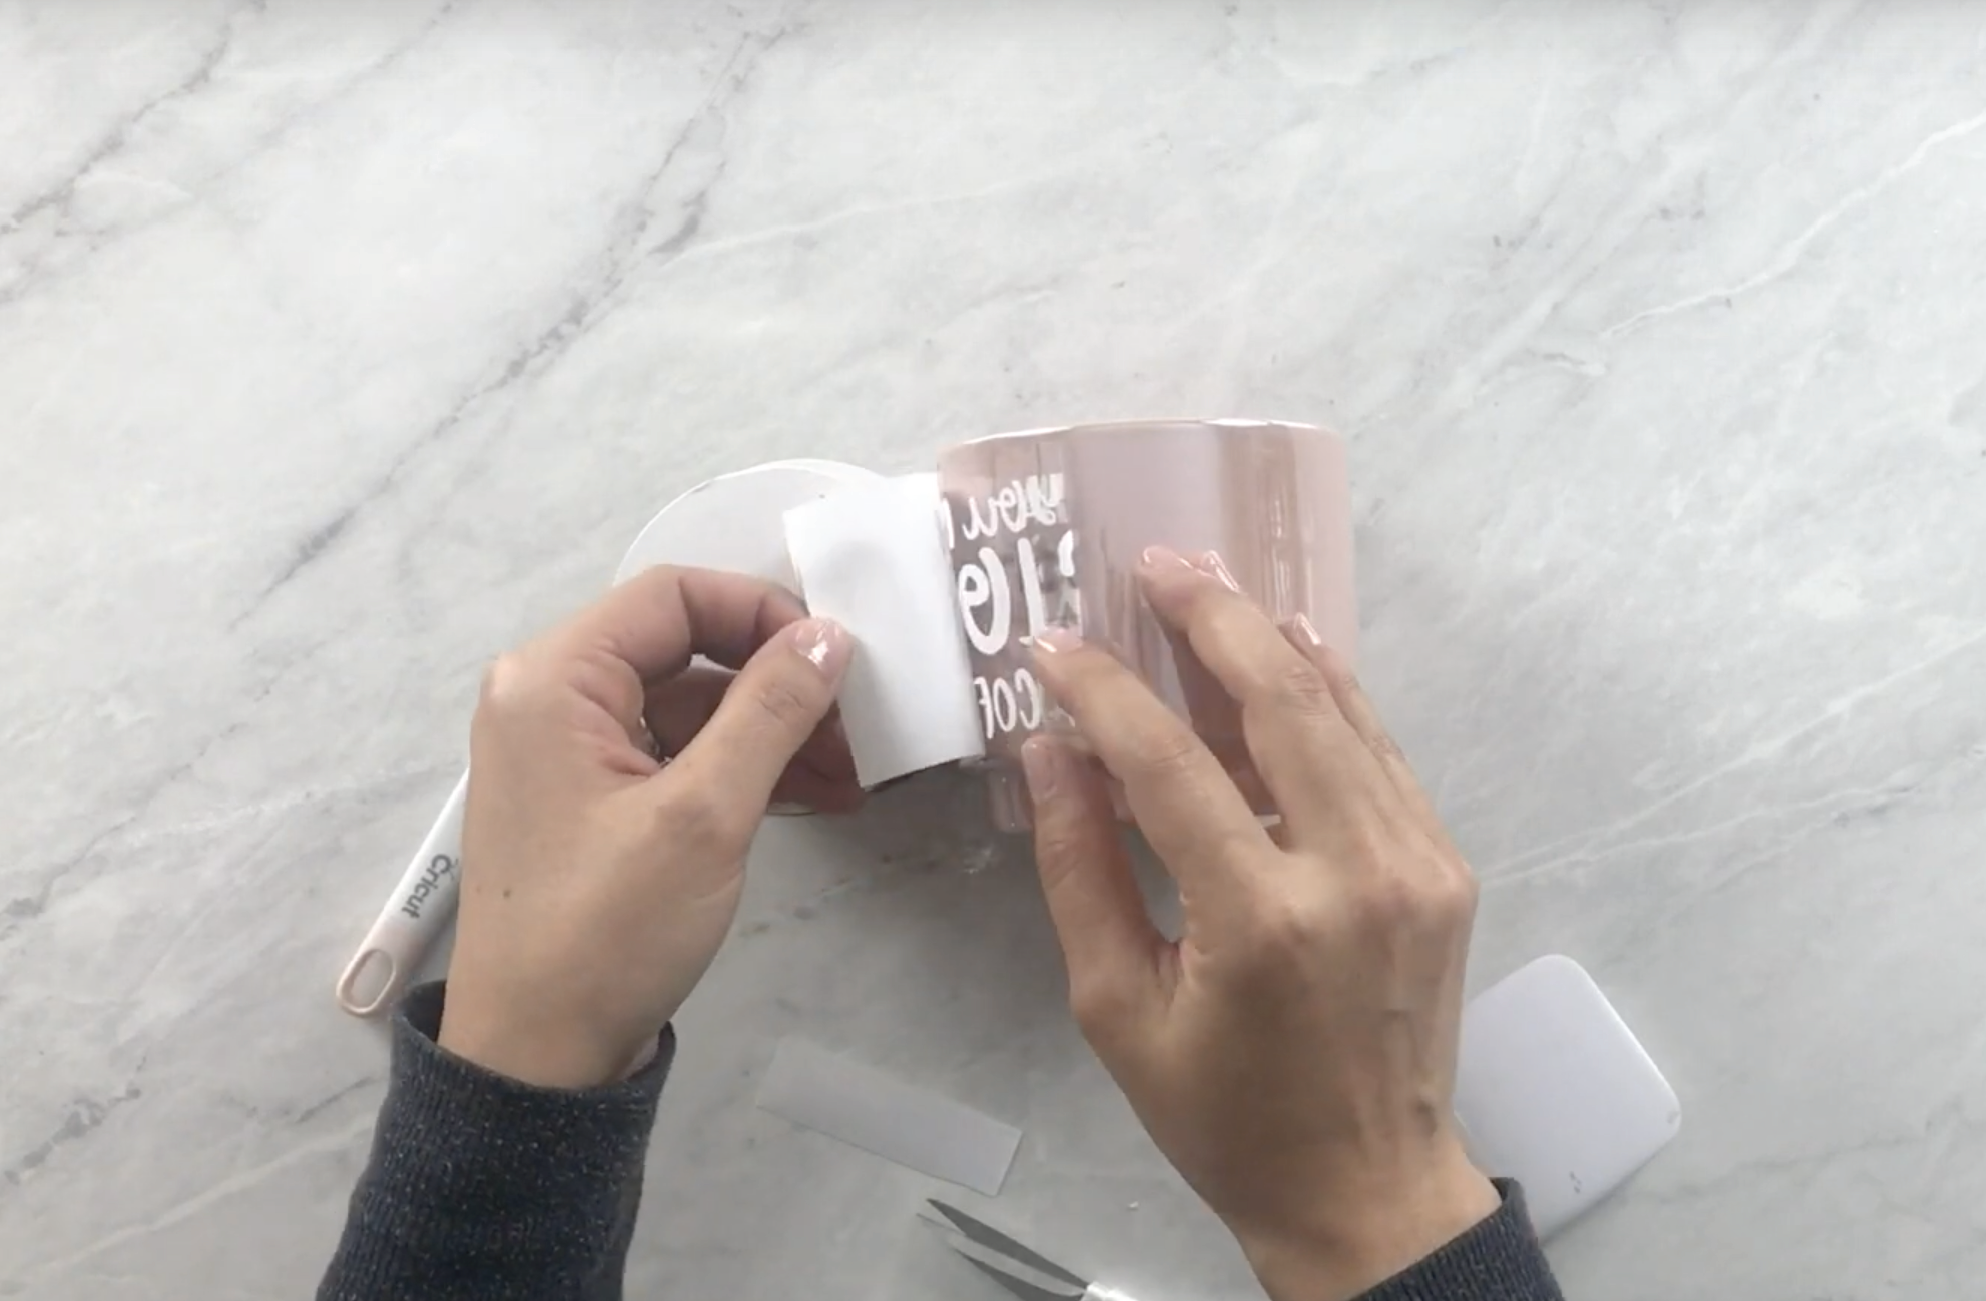
Now we will repeat this process on the other side. Peel back the opposite side and then remove the liner from the transfer tape.
Working from the middle, apply the design
Once again, starting from the middle of your image, apply the design smoothing out the bubbles as you go.
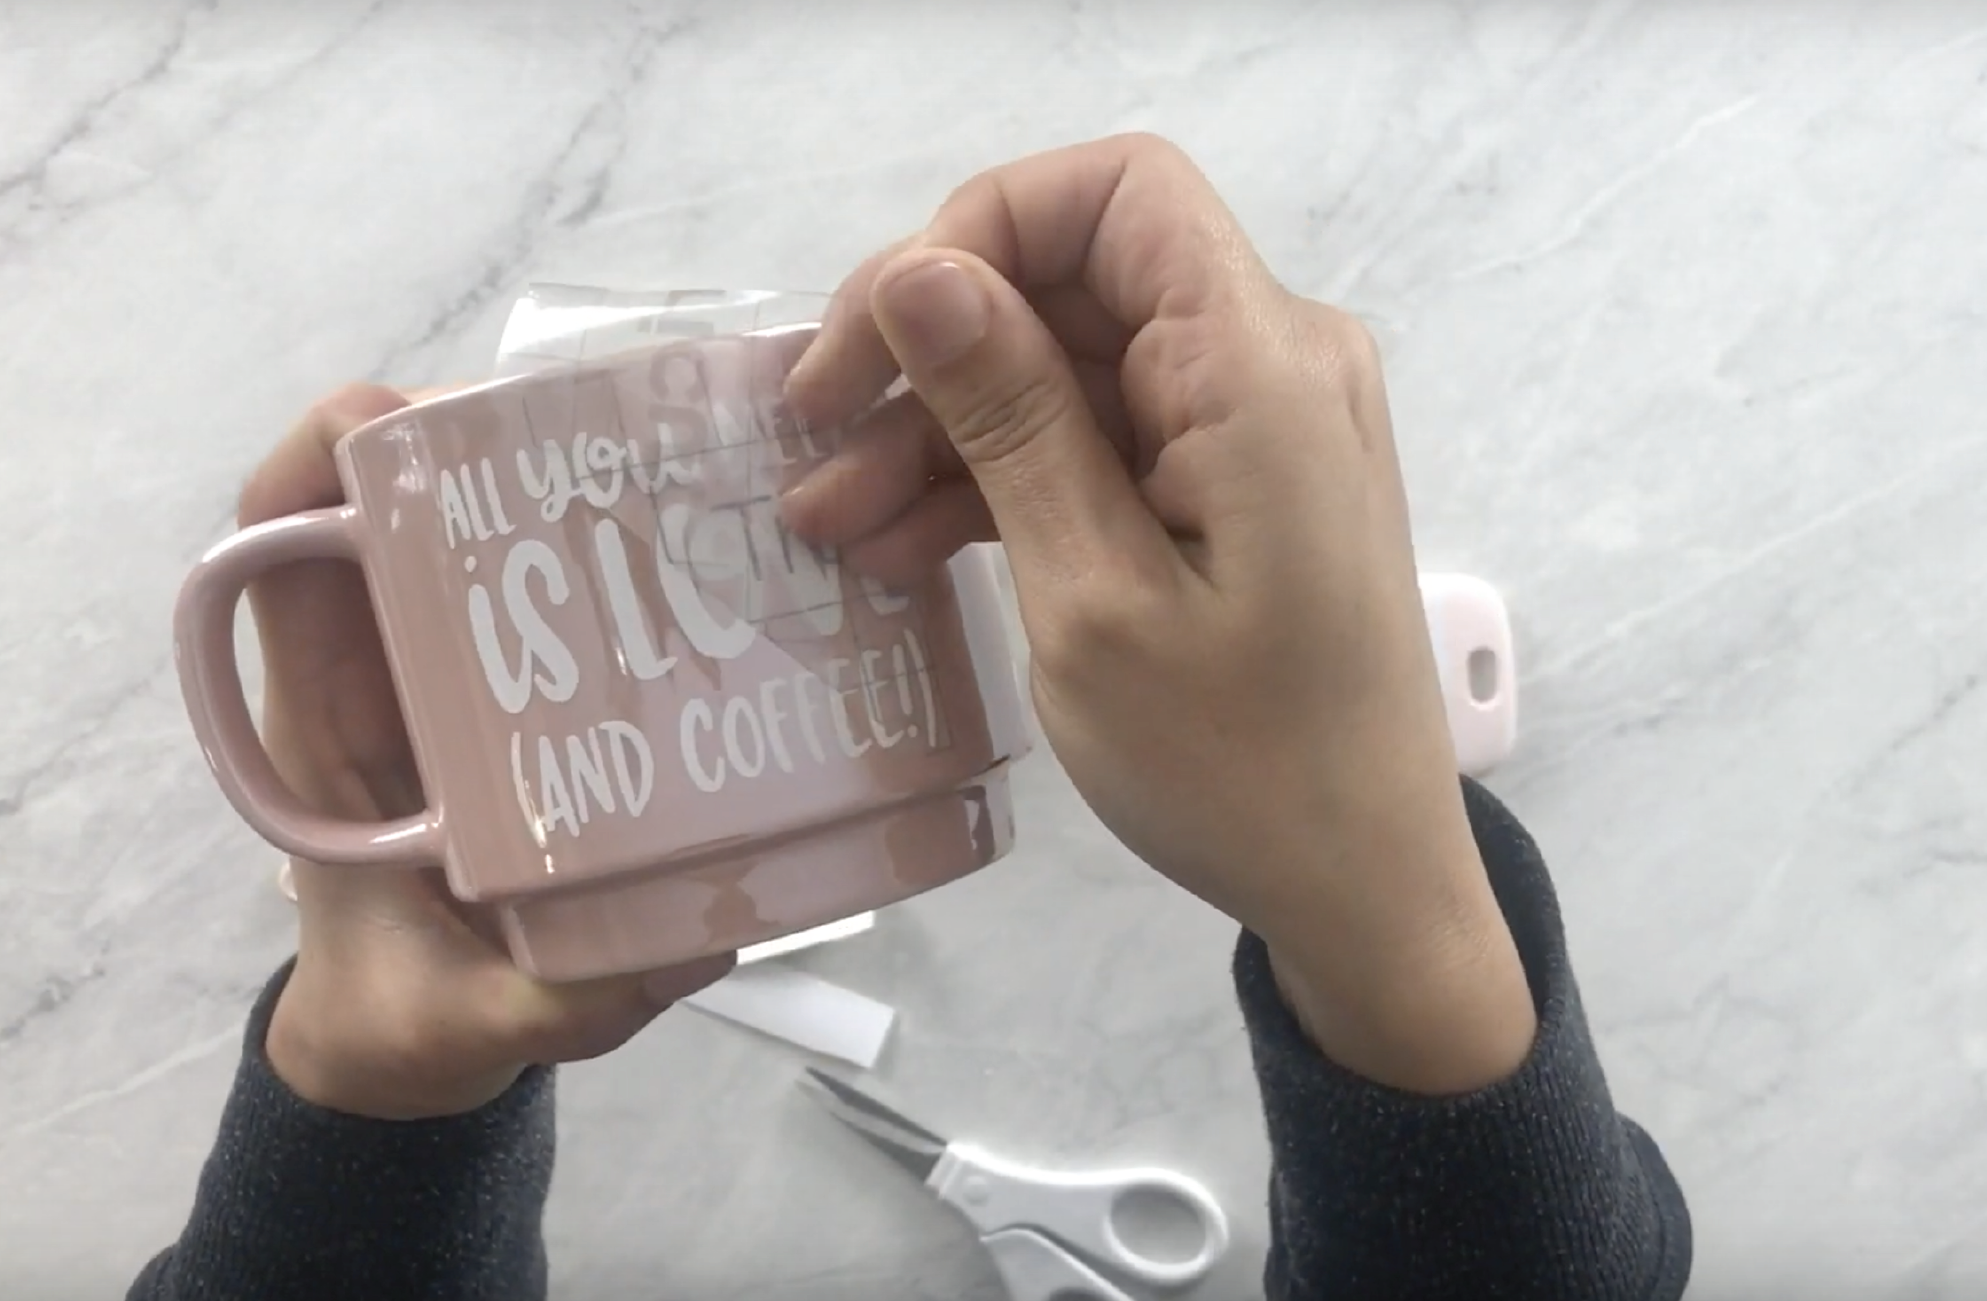
Remove your transfer tape
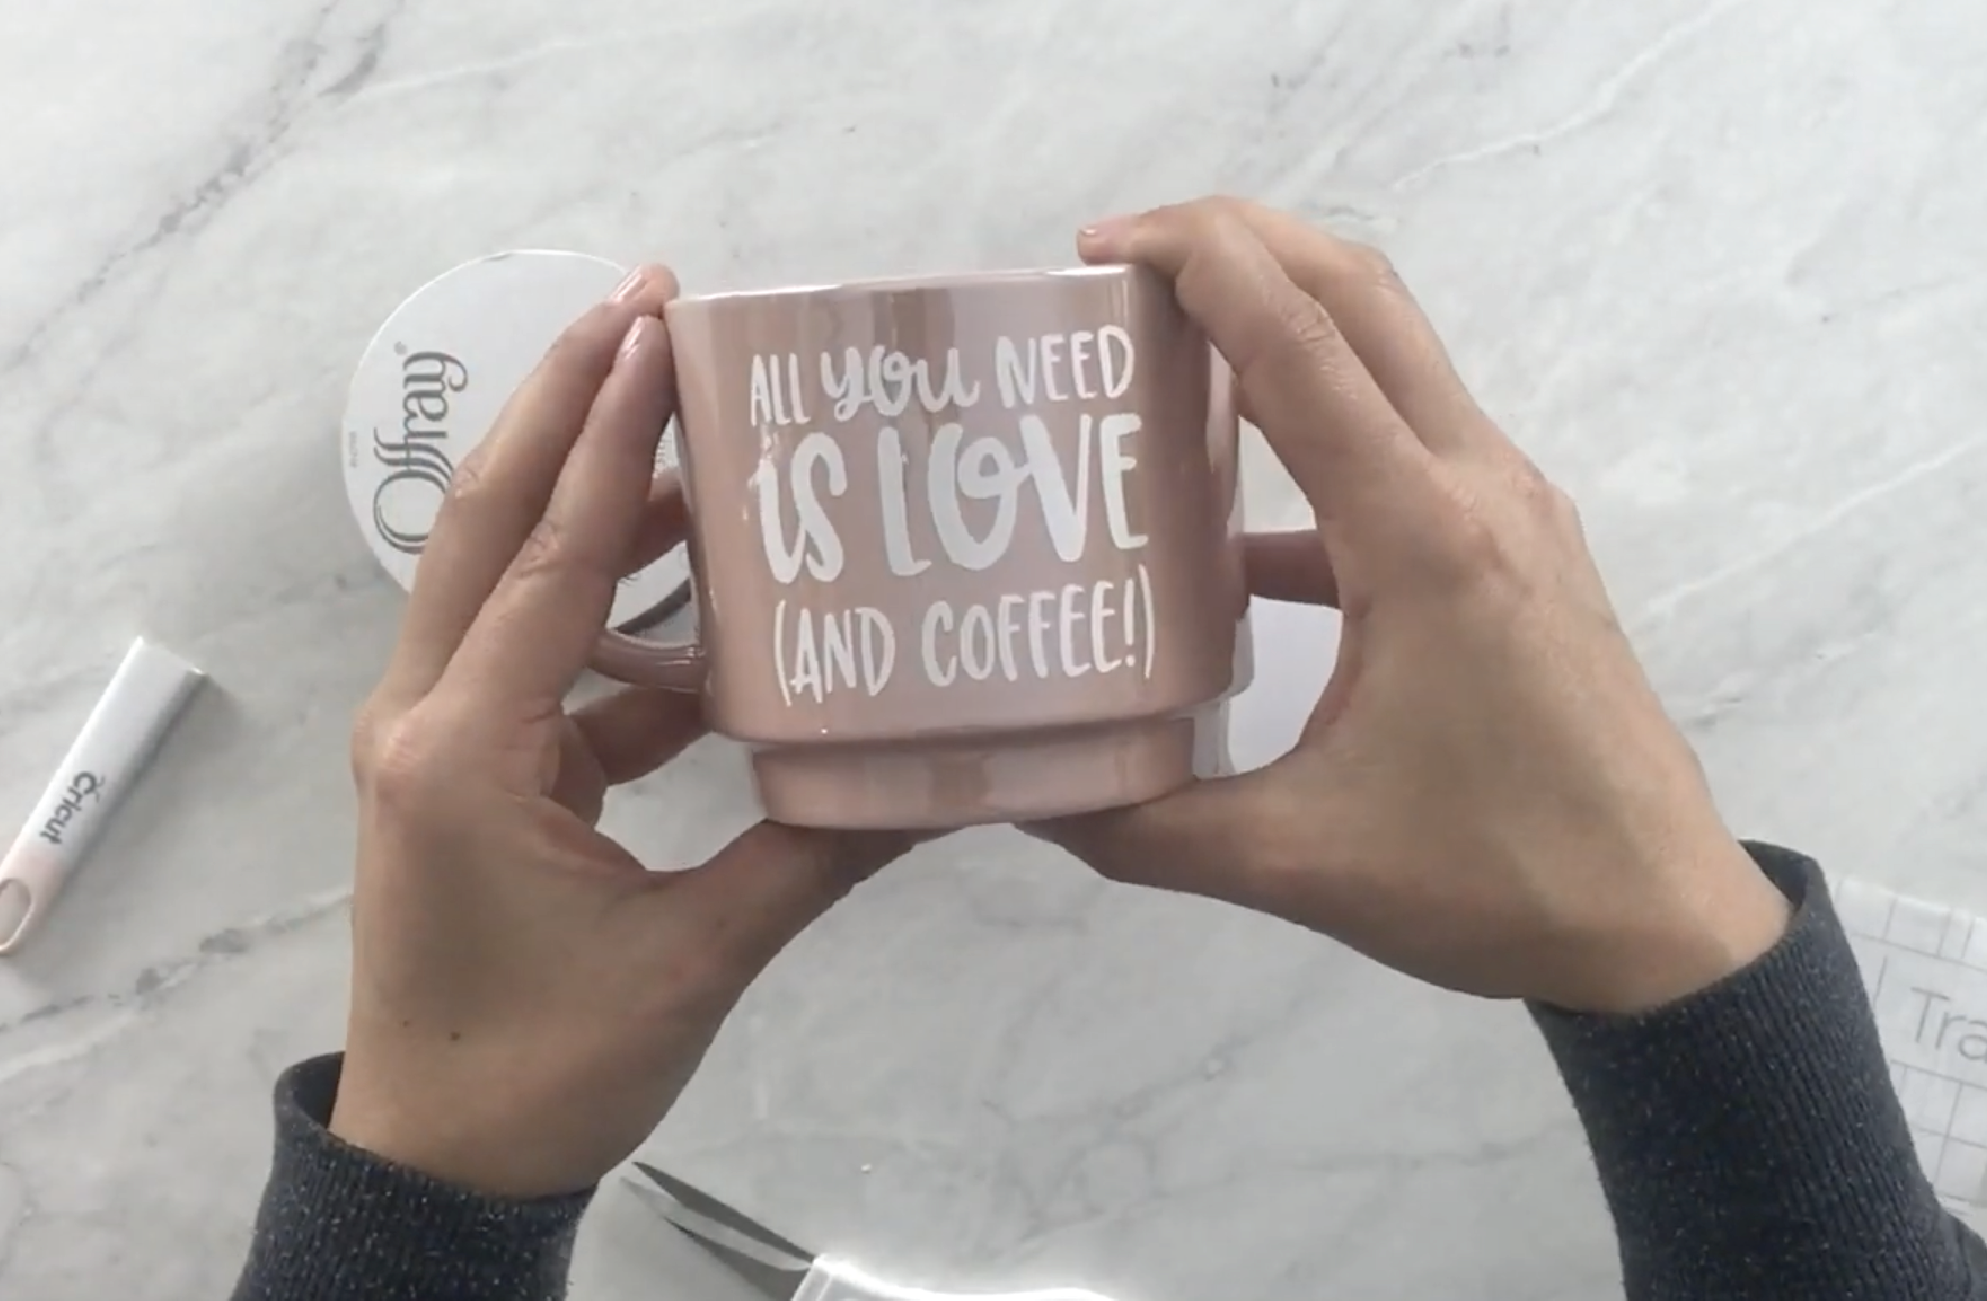
Starting from the corner of your design, peel away the transfer tape. I find that peeling away the tape at a 45° angle works best. If the vinyl sticks to the transfer tape, simply burnish the vinyl with a scraper or your finger onto the surface again. Then peel away the transfer tape.
Care Instructions
Please allow your vinyl to cure for 48 hours before washing your project or exposing it to any other elements. Cricut recommends only hand washing your projects made with Premium Permanent Vinyl. I personally have put my mugs in the dishwasher on the top rack without any peeling or melting! All dishwashers are different, so Cricut can’t guarantee that the vinyl will hold up.
Additional Resources
lf you want to see the entire tutorial, check it out below!
Artwork on Mug
Looking for the design used on this project, check out this video! It is a design from Silhouette America’s Design Store that you can purchase here. If you are unfamiliar with how to use images from the Design Store with your Cricut, the video tutorial will walk you through that process. You’ll love all of the designs!
Ready to try it out?
Here are the links to the products used in this tutorial!
- Cutting Machine- I love the Cricut Maker
- StandardGrip Mat
- Premium Vinyl
- Weeding Tool
- Transfer Tape
- Scraper
- Masking Tape
- Scissors
- Paper Trimmer (optional)
- Mug- Target Dollar Spot
- Rubbing alcohol (optional)
Looking for a discount code to use on Cricut’s shop? Since my code changes each quarter, make sure you join my Facebook Group to get the most up to date code! The code will save you 10% and give you free shipping on orders over $50! Not on Facebook? No problem, send me an email to Karley@karleyhall.com or leave a comment below!
Have Questions or want to connect!?
Karley


Great job!!
Awesome!