I love setting a table where my placecards can double as a little take-home gift. These snowflake ornaments are so easy to make. If you haven’t tried Cricut’s Print then Cut, get excited! And as if that is not enough, then we are going to foil our prints using the Xyron Glamintor!!! No transfer tape, vinyl, weeding… just cover it and run it through. It sounds too good to be true, but I promise you it’s even easier than that sounds!
Here’s what we need to get this craft party started:
- Xyron Glaminator
- Xyron Glaminator Foil
- Cutting Machine- I love the Cricut Maker (optional)
- LightGrip Mat (optional)
- Laser Printer or Laser Printer
- Transparency Film
- Plastic Ornaments
- Fake Snow
- Scissors
- Copy paper (to use as a funnel)
- Ribbon & Hot Glue (optional)
If at any point during this tutorial you get lost or confused, click the image and it’ll take you to that exact moment in a full how-to video tutorial. The video will show you everything you need to know about printing on transparency film, using your Cricut machine, and Xyron Glaminator!
Design & print your image
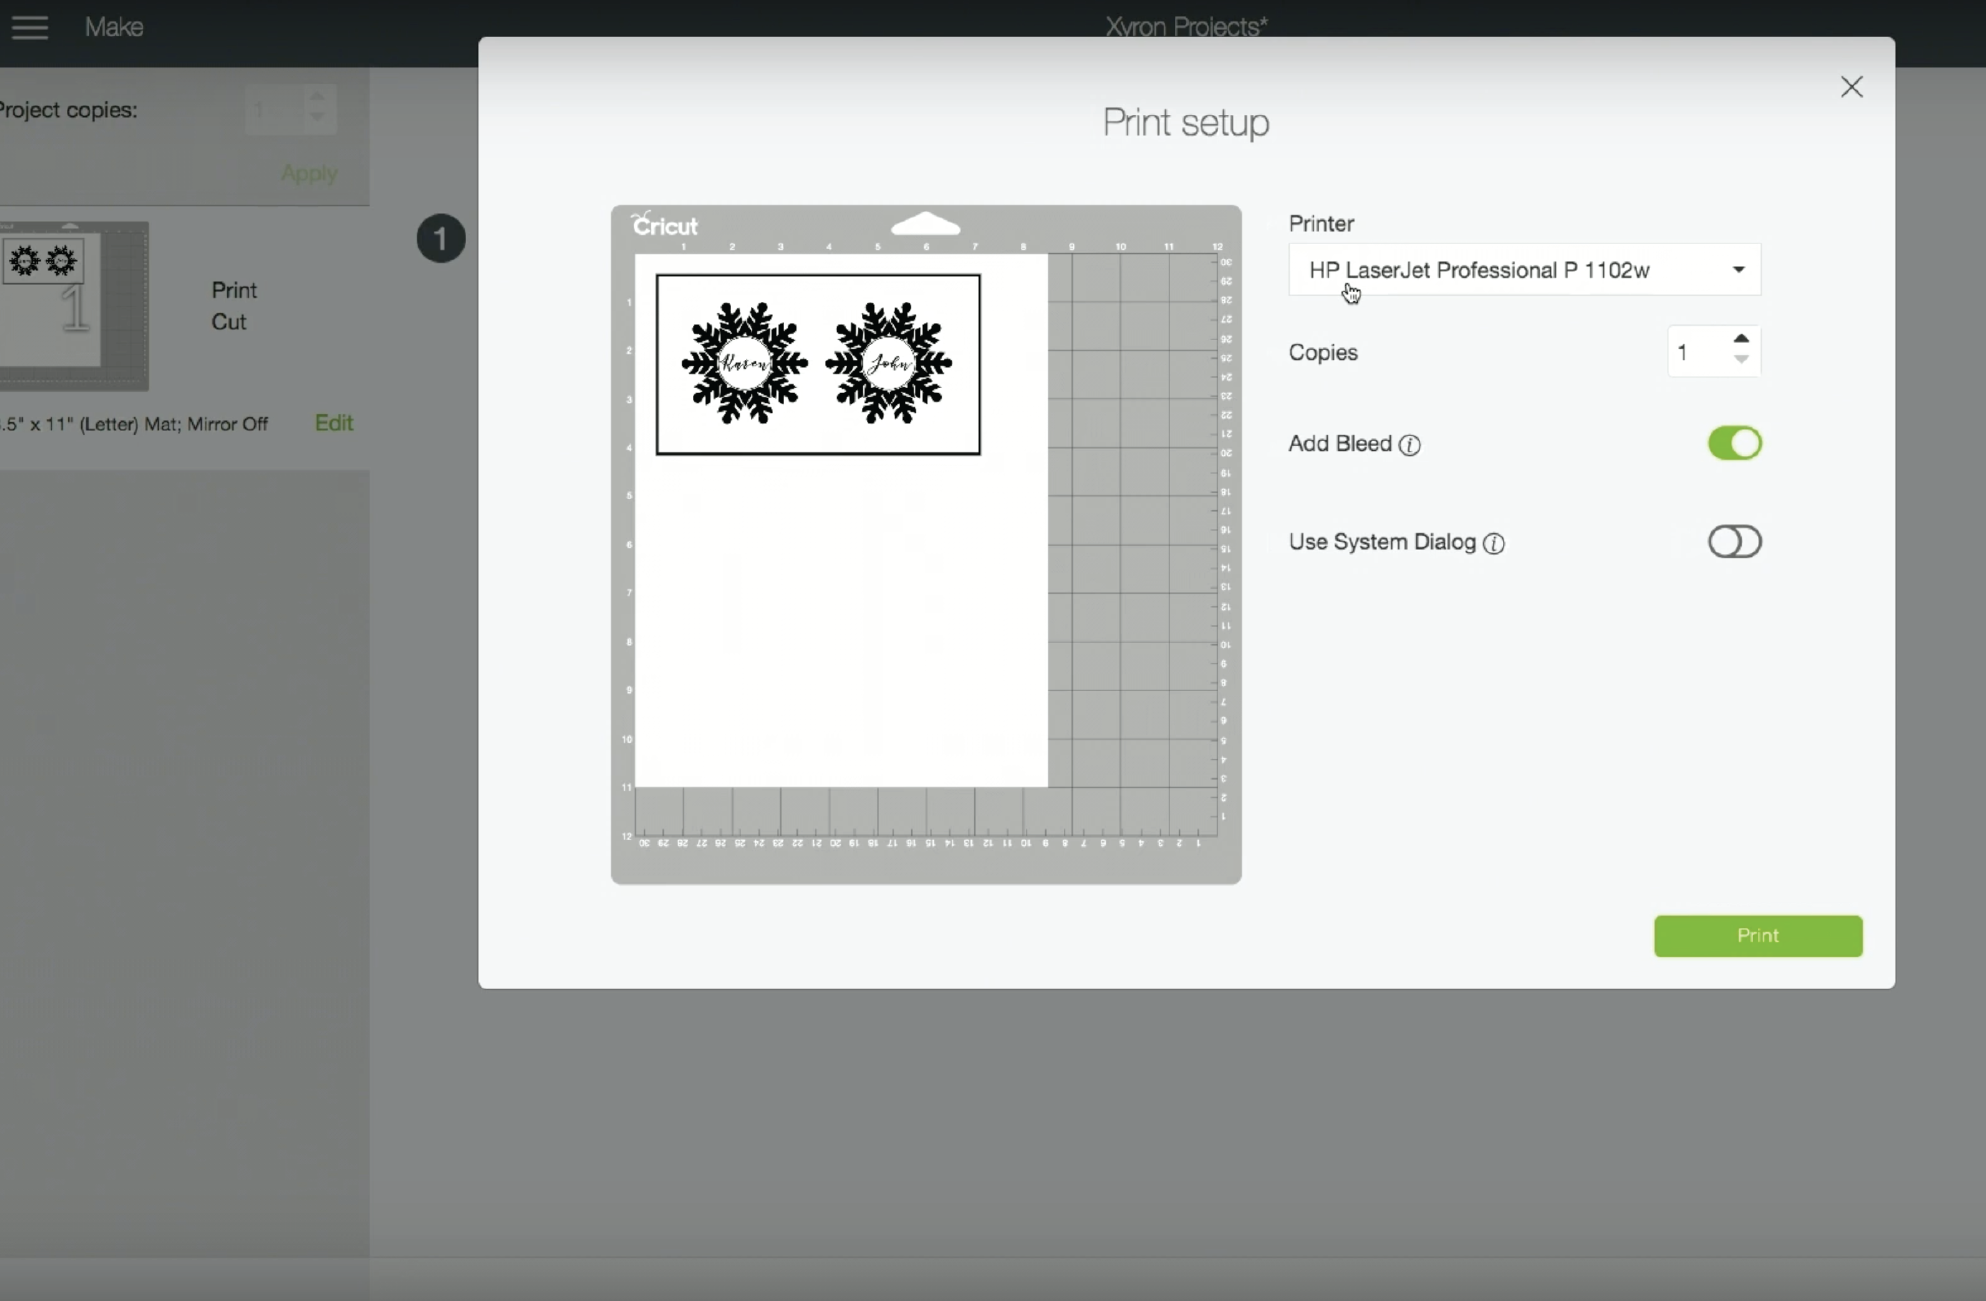
To keep this tutorial a manageable length, I skipped over the Cricut Design Space portion! If you need help designing the ornament and using the custom settings to print it on laser transparency film, click the image above to watch the video tutorial! Here’s the jist– design your image, flatten it to turn it into a printable image, and then use the custom settings to print it using a laser printer. Here is a link to the exact canvas I used in Design Space. In order to use the Xyron Glaminator, you need to use a laser printer to print your design because the foil adheres to the toner and will not work on ink printed by an inkjet printer.
Cut your transparency film using scissors or cutting machine
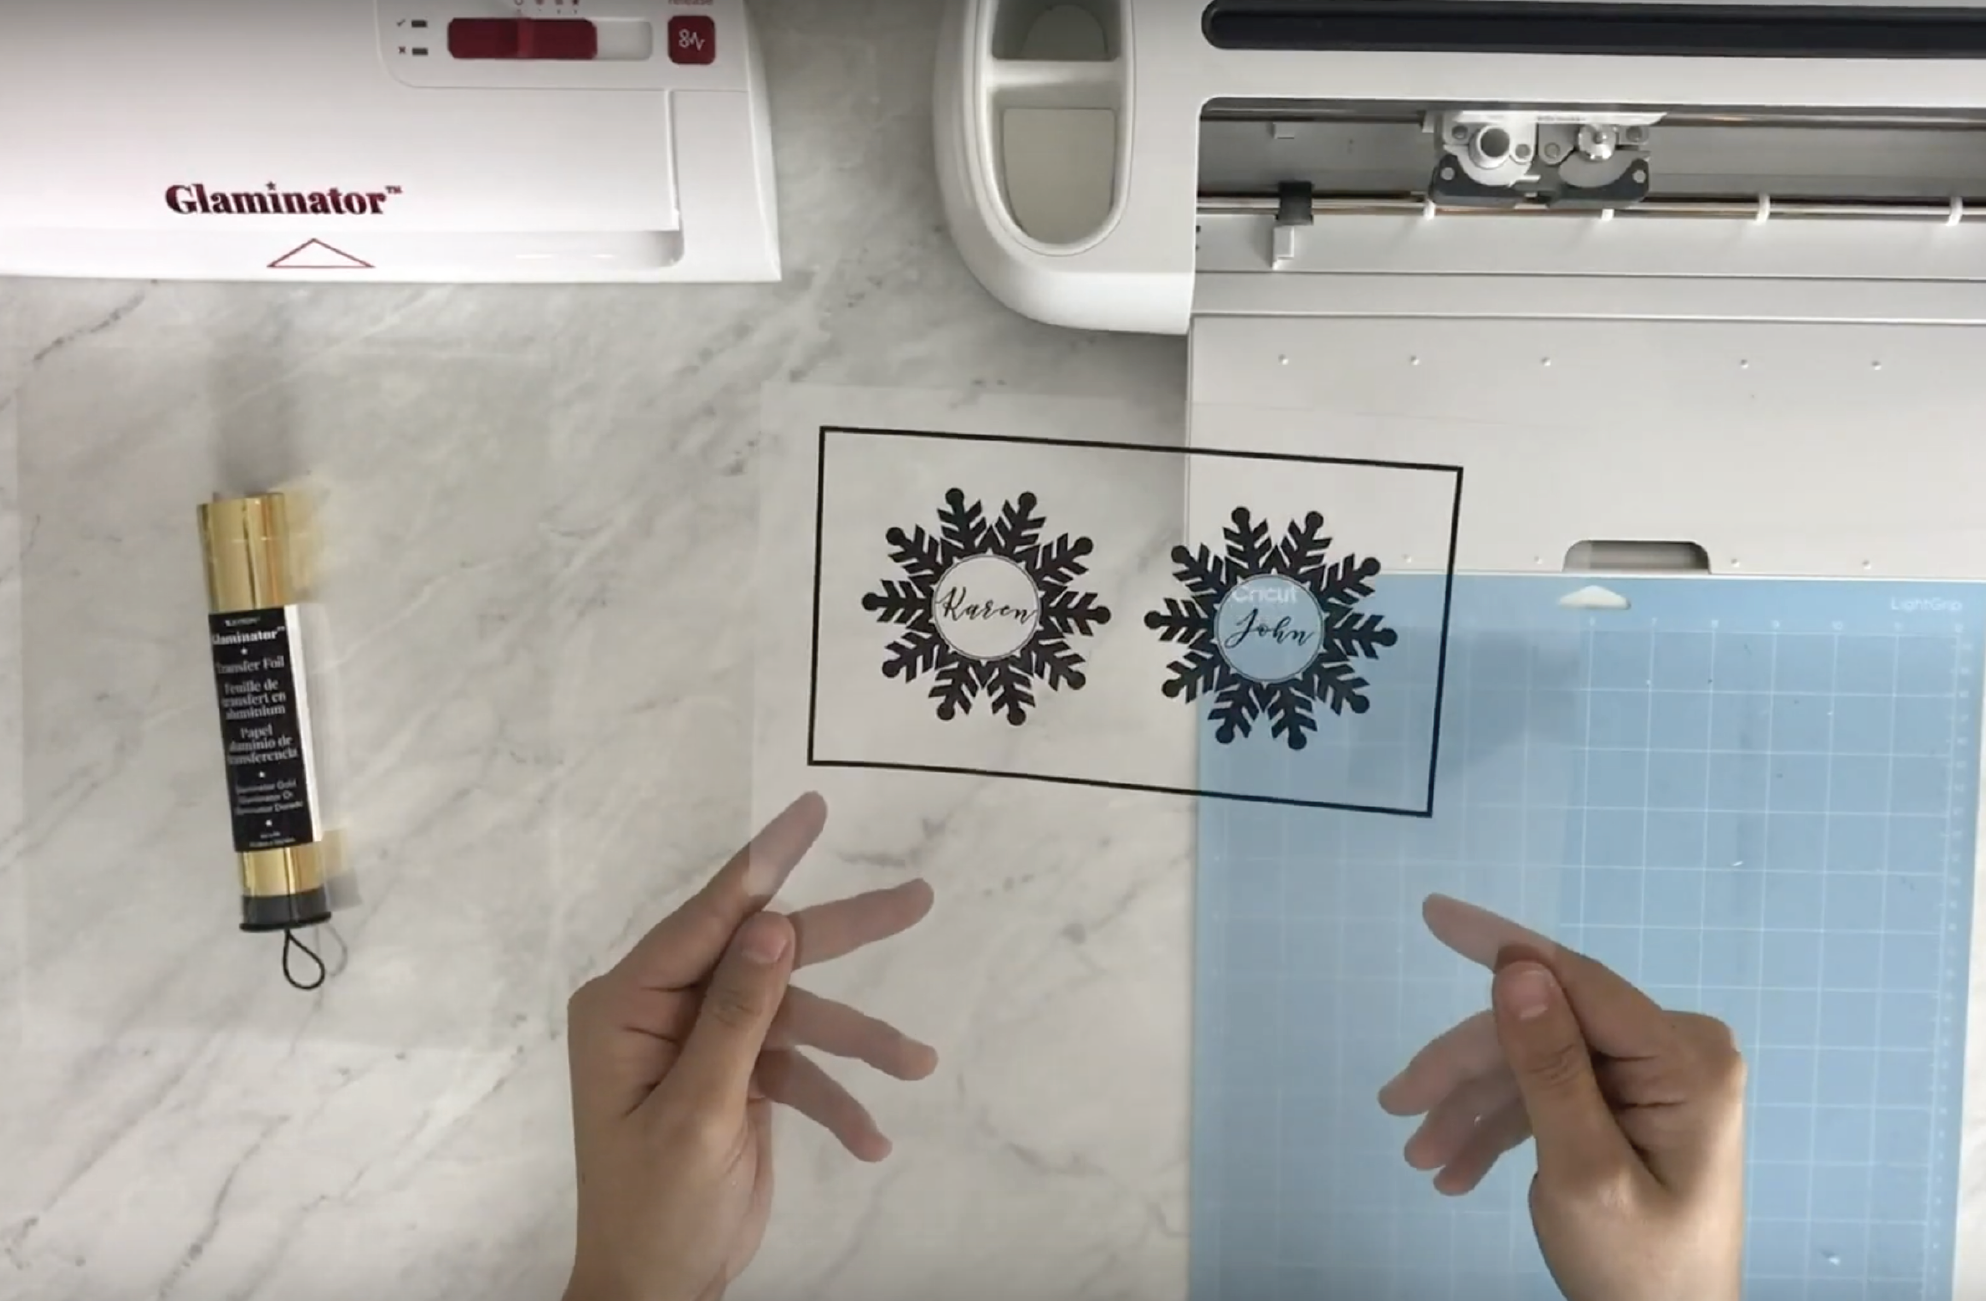
After your design has been printed, you can hand cut it, or if you used Cricut Design Space, you can use your Cricut Machine to read the design and then cut it. If you are using a Cricut Maker, choose “Transparency” as your material. If you are on an Explore Family Machine, turn your dial to “custom” and then choose “Transparency.” The Cricut will know where to cut based on the position of the black rectangle seen above. Load your transparency print on a LightGrip Mat and watch as your perfect circles are cut!
Cover your image with the foil shiny side up
Place your image inside the Glaminator’s clear carrier with the black design facing you. Then cover the design with the foil, shiny side up. Close the carrier and ensure your foil completely covers the portion of the design you’d like to foil.
Run your design through the Xyron Glaminator
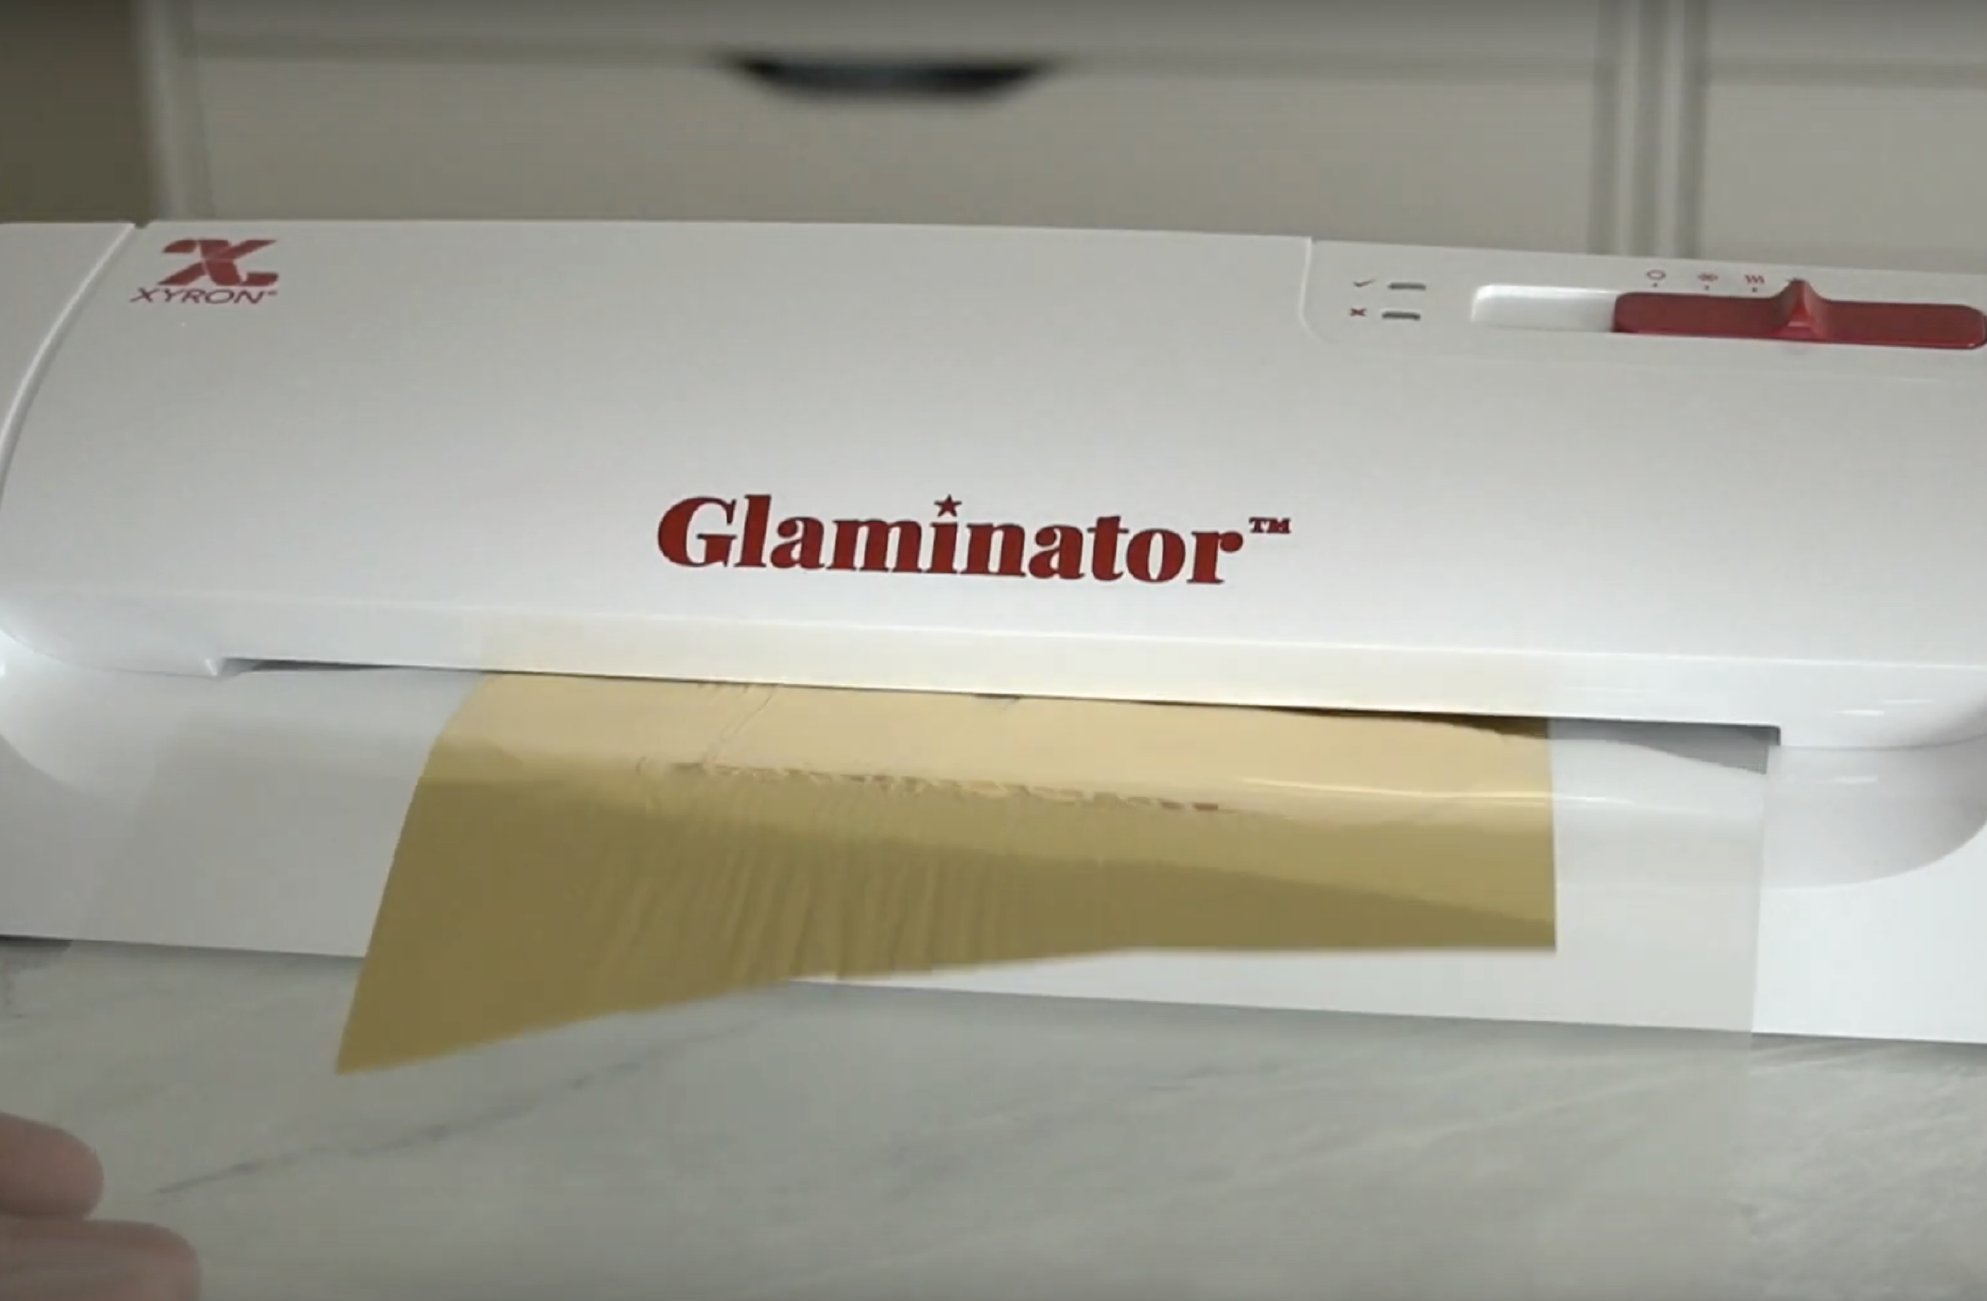
Turn your Glaminator on to the foil setting by sliding the switch to the star icon. It takes a few minutes to heat up, so wait until the indicator light (next to the check mark) turns green. Once it’s ready, insert your carrier sheet (folded side first) into the Glaminator. The Glaminator will automatically pull the carrier sheet through.
Peel away the foil and roll it up
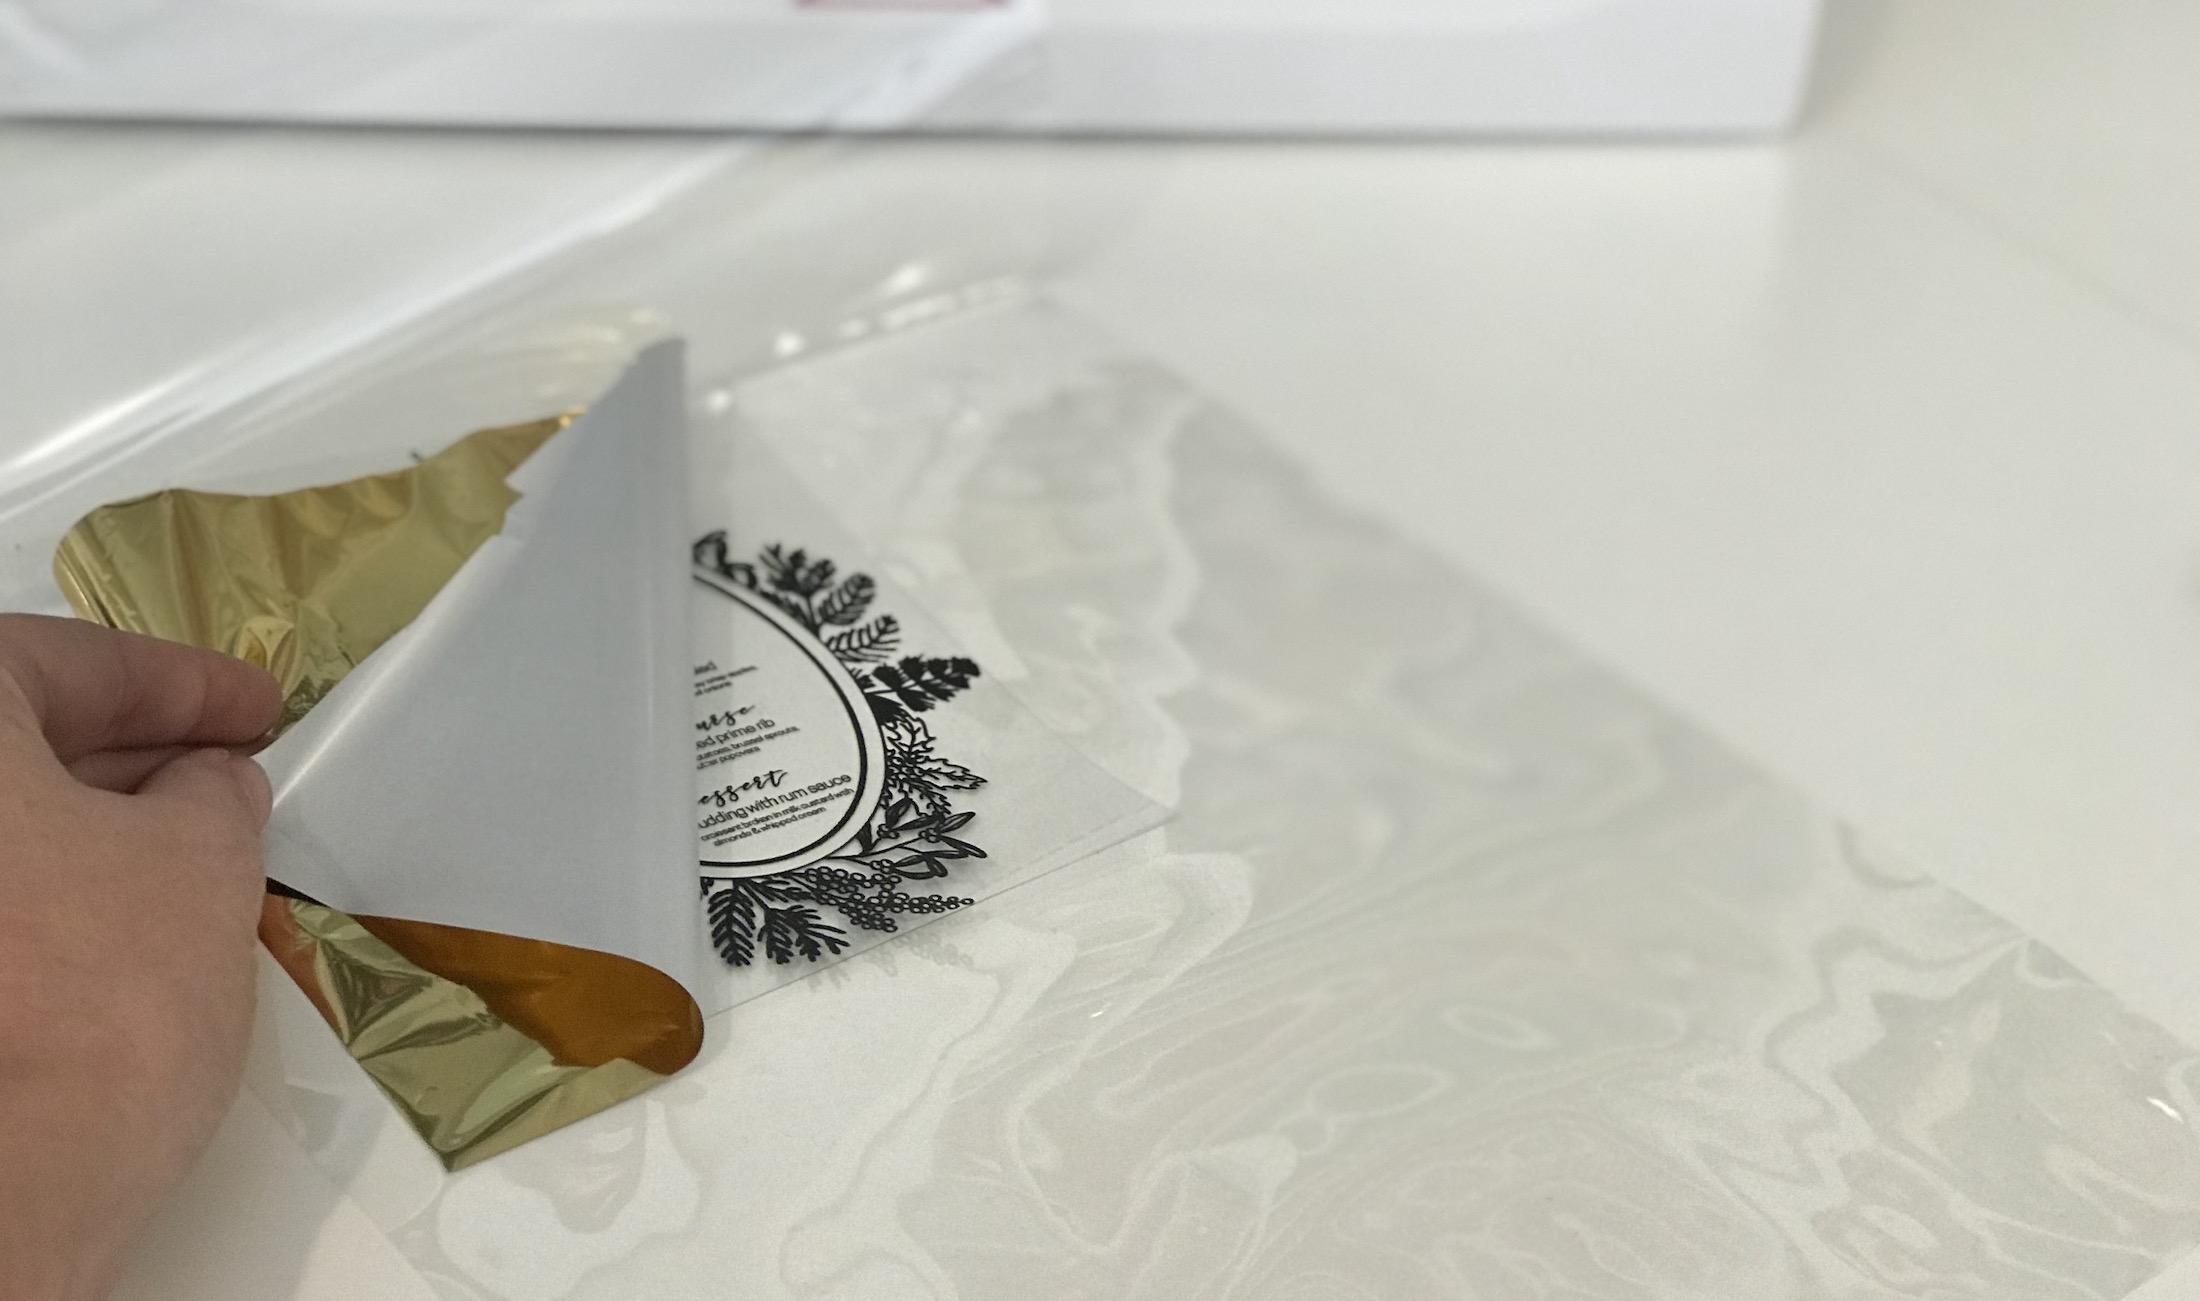
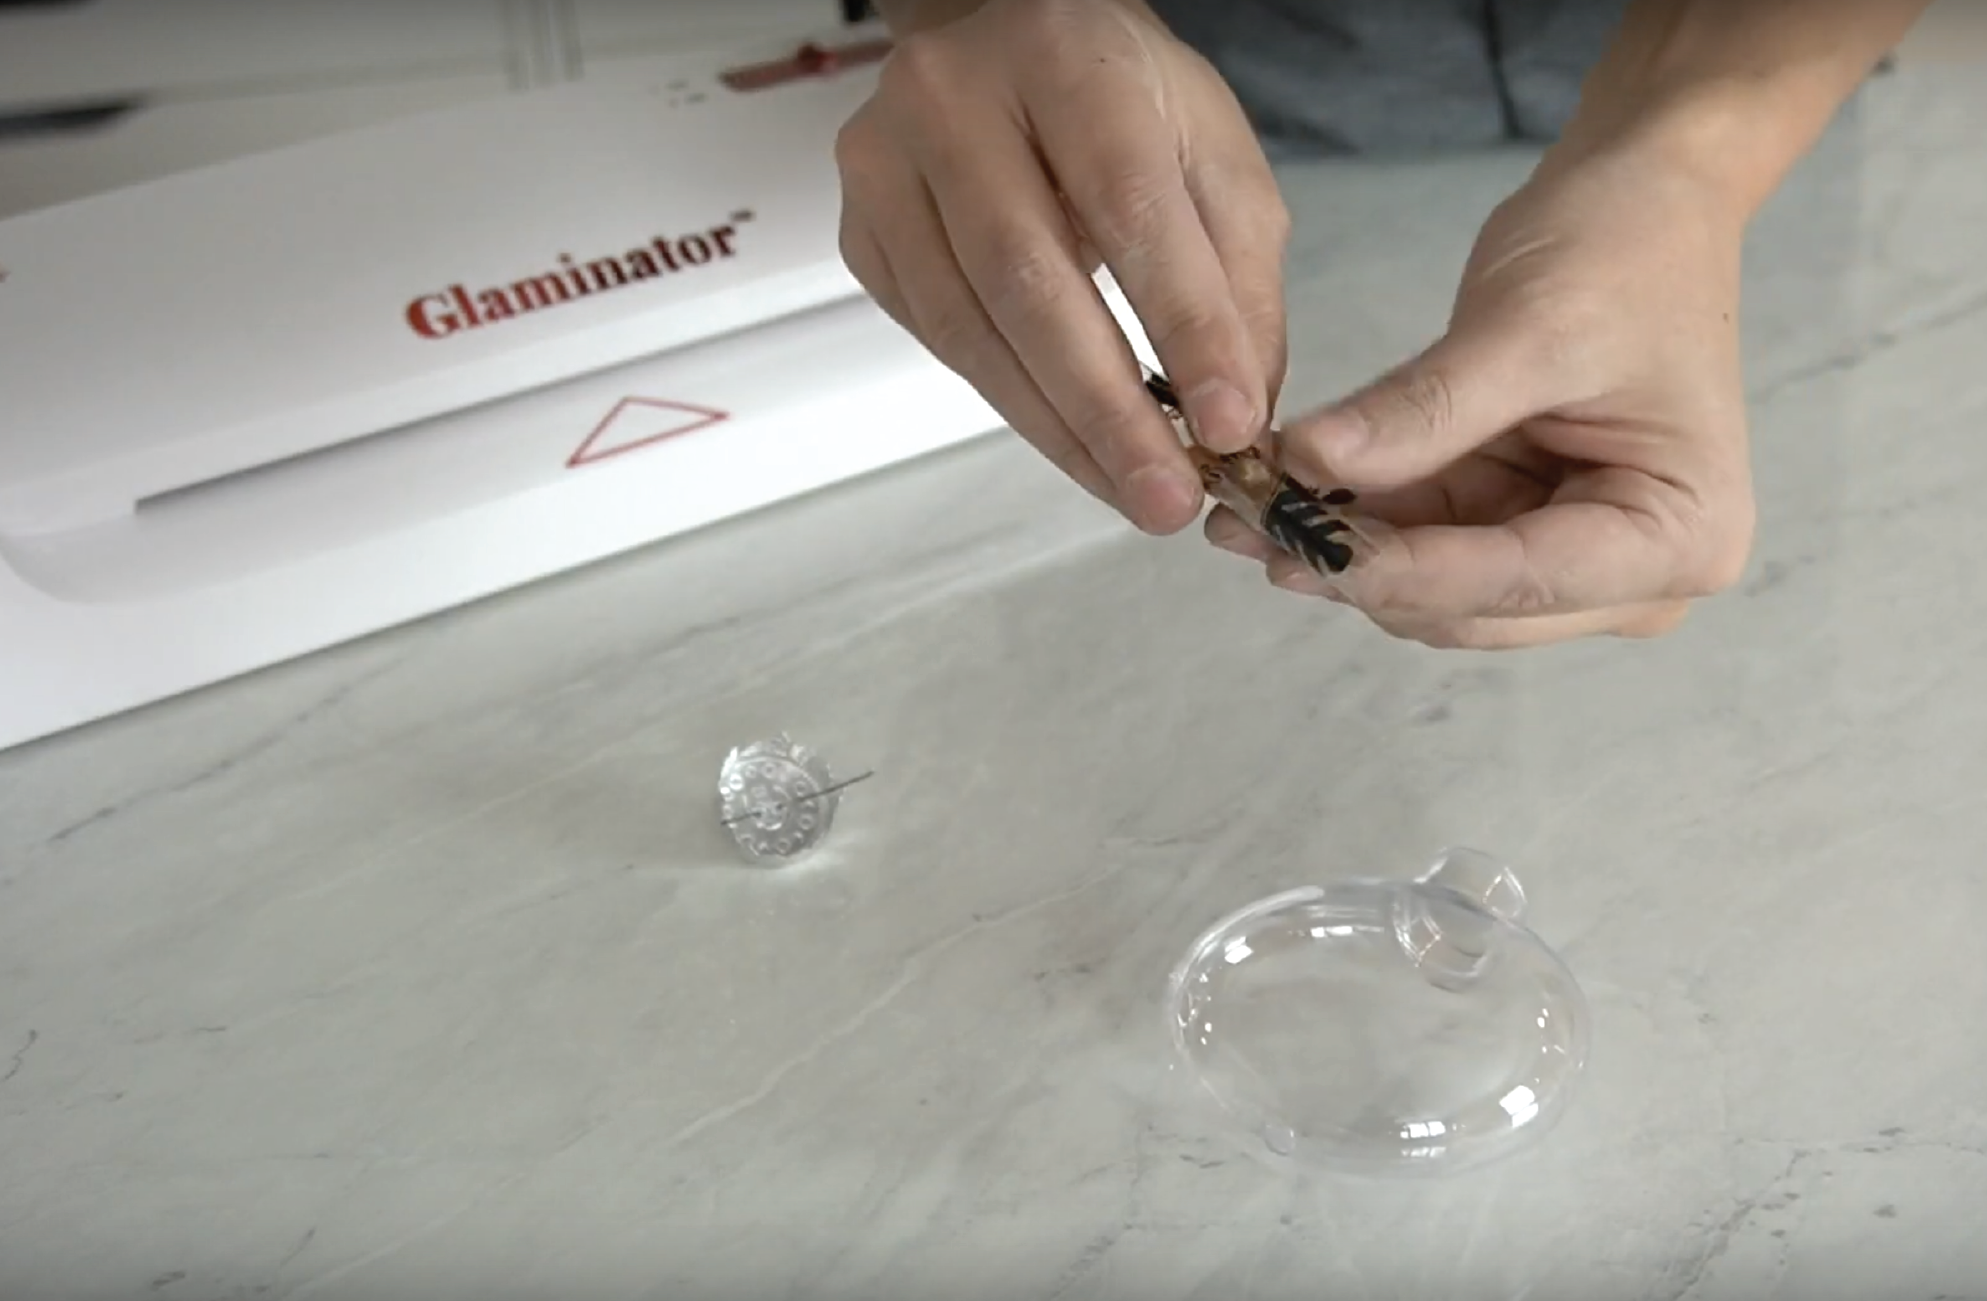
Once your design runs through the Glaminator, peel away the foil to reveal your beautifully foiled design. Roll up your design and slip in into your ornament.
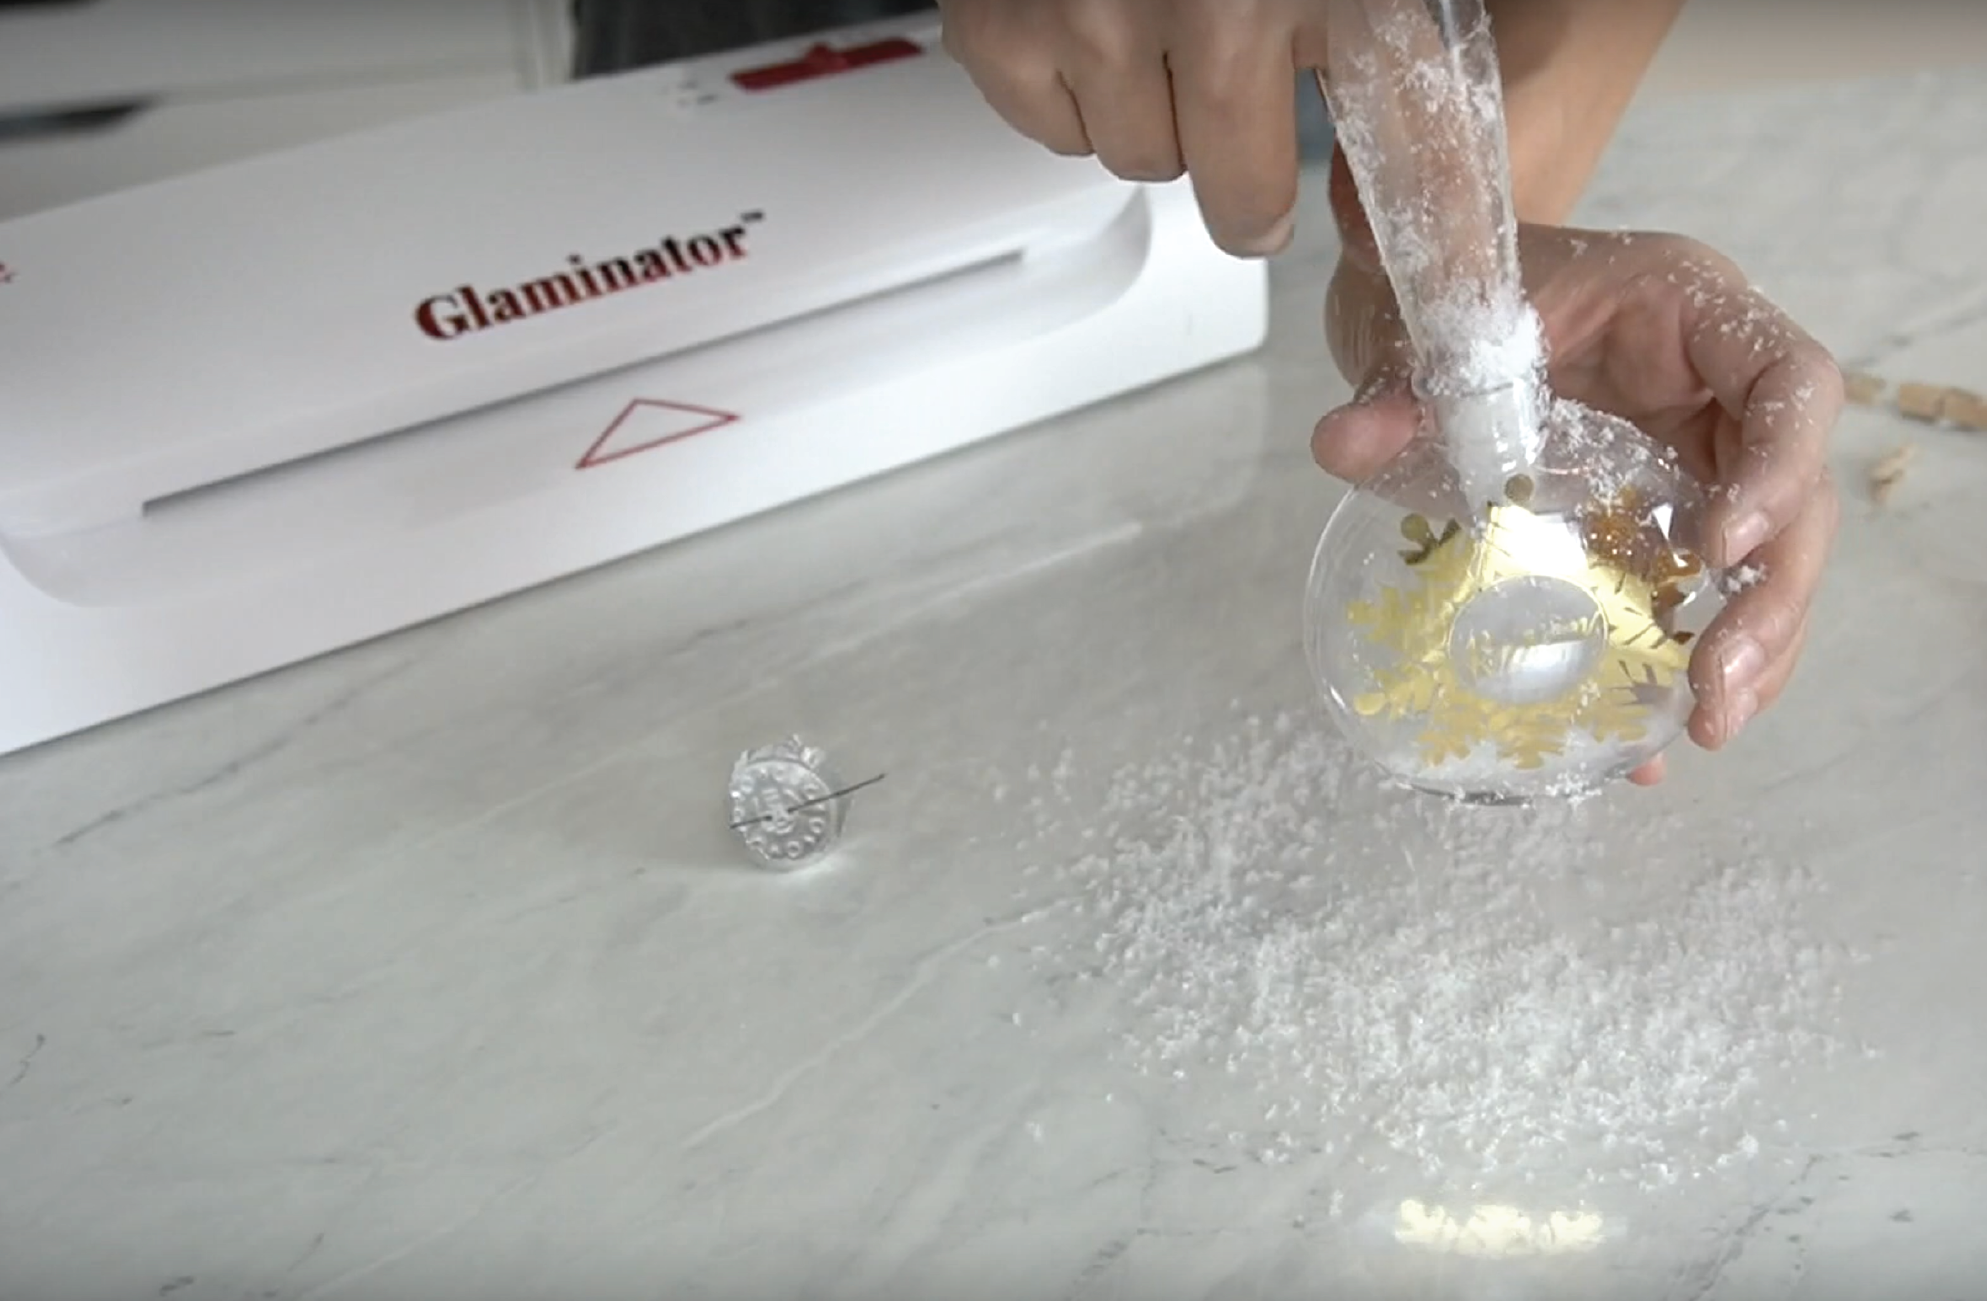
Create a funnel and fill your ornament with snow
In the video tutorial, I had a left over piece of transparency film, so I used that to create a funnel. However, when I made my test ornament, I used a piece of copy paper. The copy paper was much easier to use since the “snow” didn’t stick to it. So I recommend using a piece of copy paper to create a funnel. Stick it behind your design and then fill your ornament with the snow.
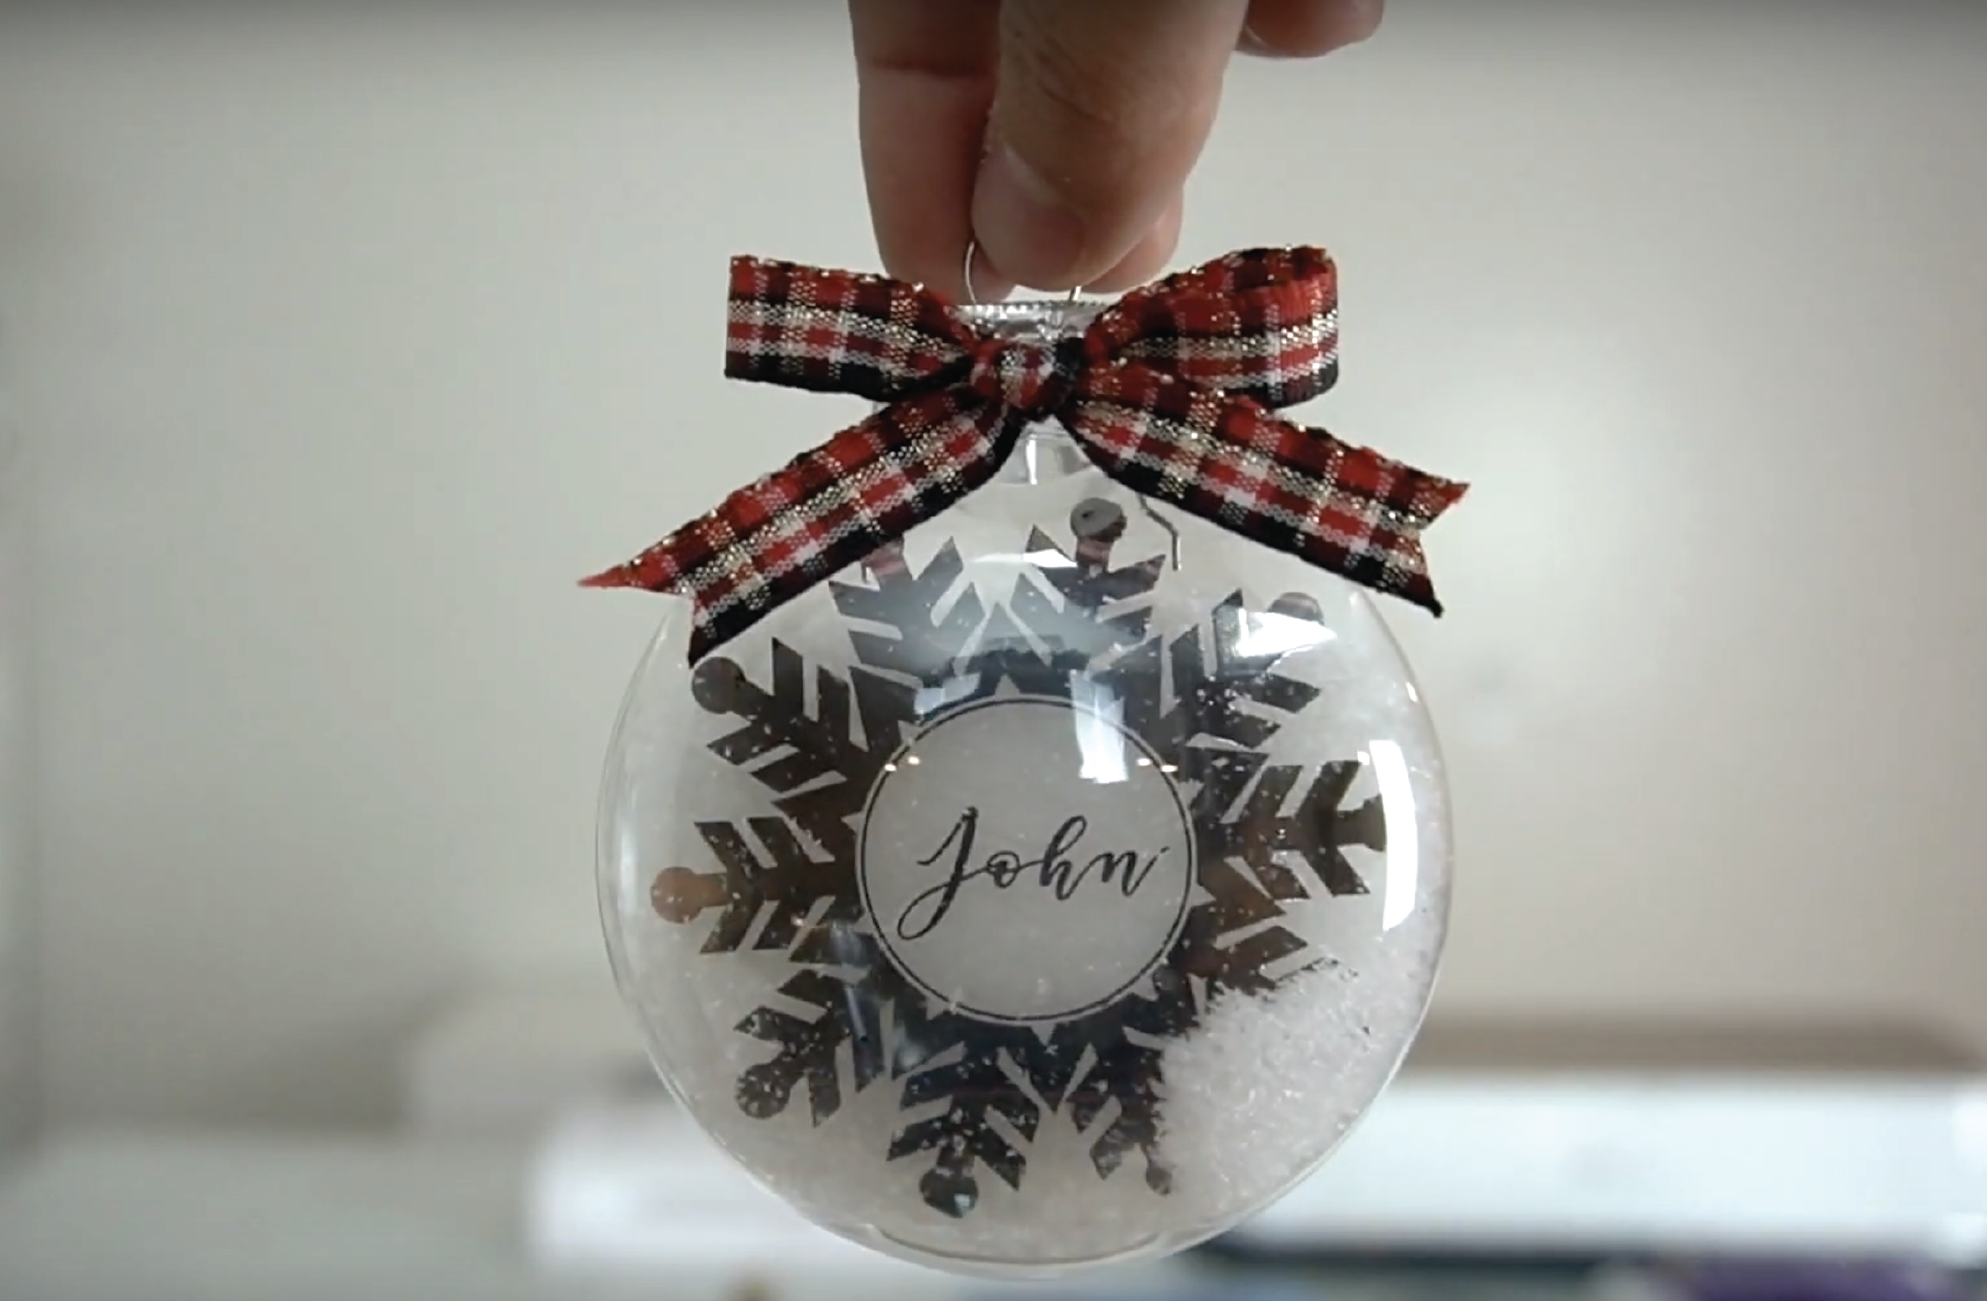
Embellish
Using a small piece of ribbon, I tied a bow and adhered it to the front of my ornament with a dot of hot glue.
Add it to your table!
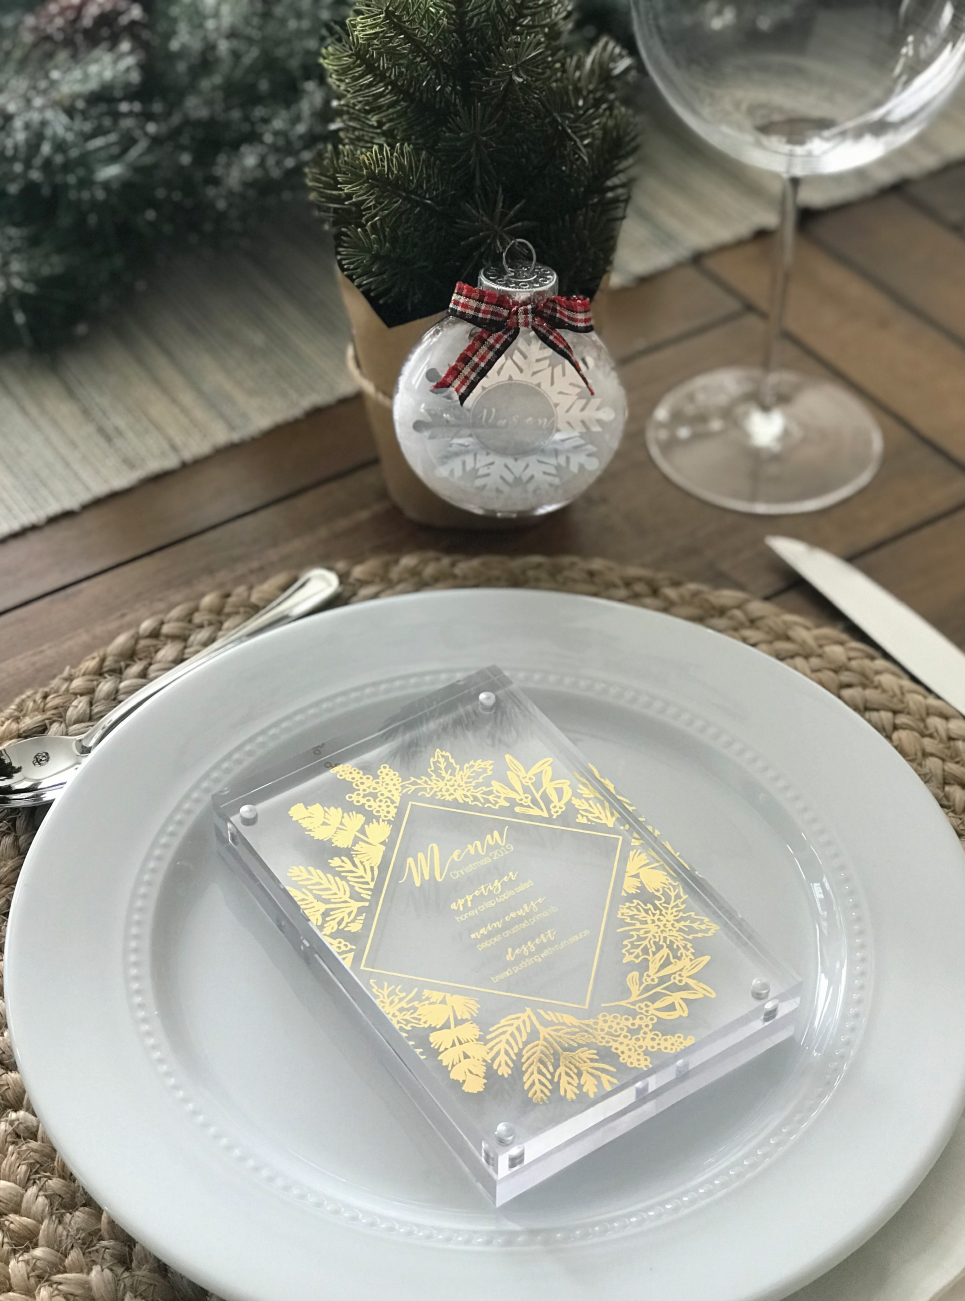
I tied my ornaments on to little Christmas trees I found at Target. I also created some foiled menu’s and framed them in 4 x 6″ acrylic frames to add a little bit of a wow factor to my table. I love the way it turned out!
Additional Resources
lf you want to see the entire tutorial, check it out below!
Ready to try it out?
Here are the links to the products used in this tutorial!
- Xyron Glaminator
- Xyron Glaminator Foil
- Cutting Machine- I love the Cricut Maker (optional)
- LightGrip Mat (optional)
- Laser Printer or Laser Printer
- Transparency Film
- Plastic Ornaments
- Fake Snow
- Scissors
- Copy paper (to use as a funnel)
- Ribbon & Hot Glue (optional)
Looking for a discount code to use on Cricut’s shop? Since my code changes each quarter, make sure you join my Facebook Group to get the most up to date code! The code will save you 10% and give you free shipping on orders over $50! Not on Facebook? No problem, send me an email to Karley@karleyhall.com or leave a comment below!
Have Questions or want to connect!?
Karley



I would like to customize glasses for gifting purpose… Bt decorating ornament is also a good idea for home.